
Renovating a much neglected Kitchen
|
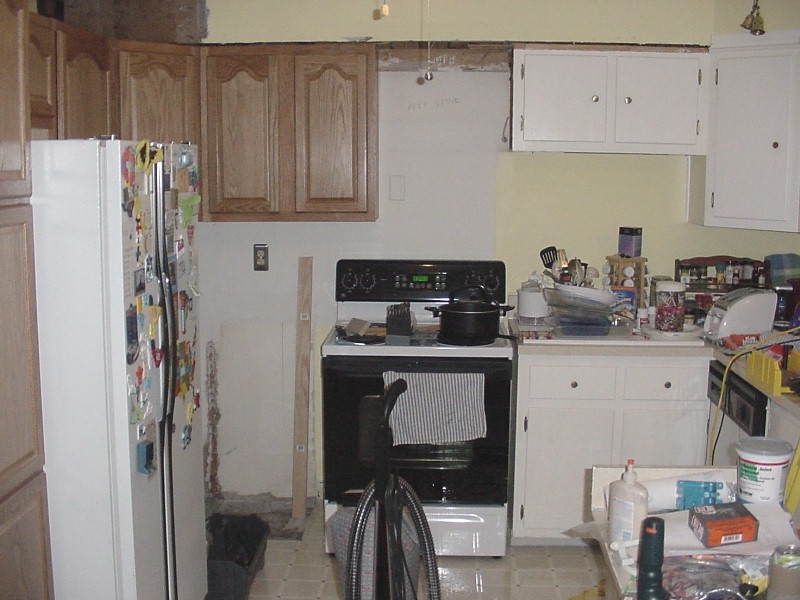
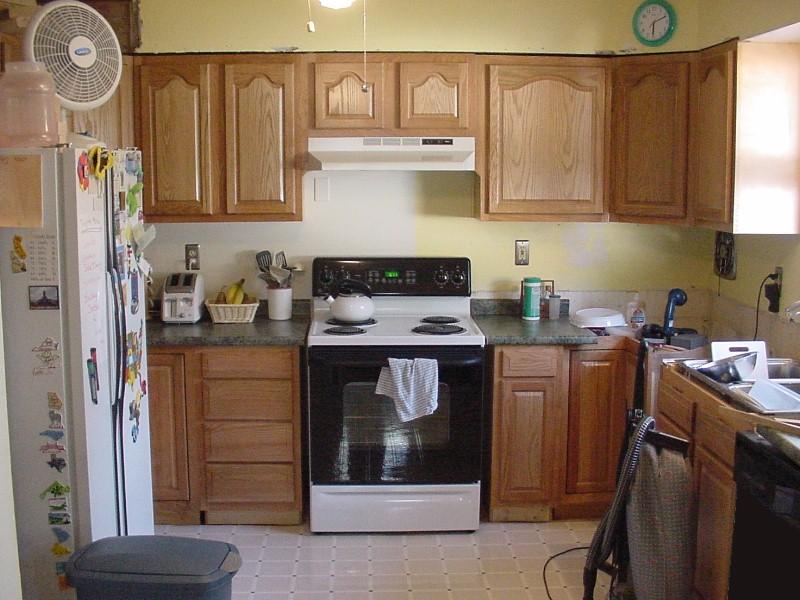
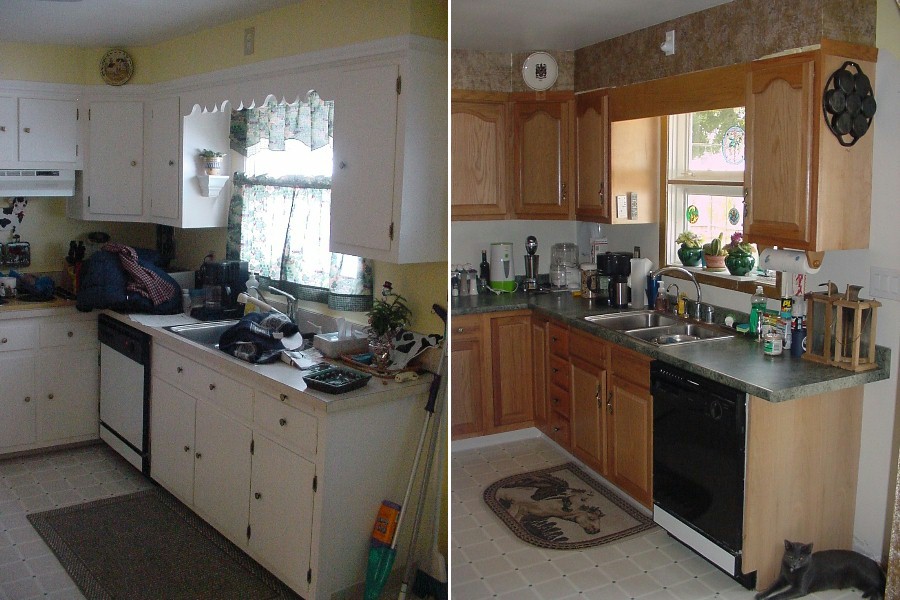
The first "problem area" we identified when we bought the house was the kitchen. The current design was inefficient, had very little storage space, and was poorly laid out. The previous owners had a refrigerator where a stove should be, and the countertop stove and in-wall oven were very dated and on the verge of being unsafe (if not unsanitary). We never used either of them after moving in ... we got our own stove and are now remodeling the kitchen around it. The original kitchen layout was L-shaped, with the inside wall being unusable (save an afterthought of a cupboard that serves as a mini-pantry) due to a lack of wall and floor space, a floor heat register, and that the adjacent wall oven and cupboards opened to the wall. After shopping around and looking for the best deals, we found a kitchen renovation that cost around $2,500 as a do-it-yourselfer, as opposed to the $15,000 - $20,000 for a contractor to come in and do it for us. Working with the sales representative at the factory store, some nifty computer software and our dimensions, she fed the room statistics into the 'puter and we soon had a U-shaped layout that would almost quadruple our cabinet space, and efficiently utilize the wall space provided by the fairly large room. Once we got the cabinets safely home, taking up the space in the dining and living rooms, I went about removing the old cabinets. I divided the project into two phases ... left of the stove and right of the stove. I would tackle the left side first, as it had very little to remove, and that would give me the experience to see what secrets the house held before tackling the touchier stuff, like relocating the dishwasher and redoing the plumbing for the kitchen sink. As I removed the trim and gained access to the ceiling area, I learned how the house was structured, and what it was going to take to install a new "false drop wall" above the cabinets. I relocated electrical outlets, added a few new ones, removed one and rewired it for the new range hood. After that it was just a matter of prepping the walls, making them smooth and level, primed and ready for final paint (after everything is up and finished). NO PROBLEM. This page will chronicle the progress of the project. We hope you find it informative. |
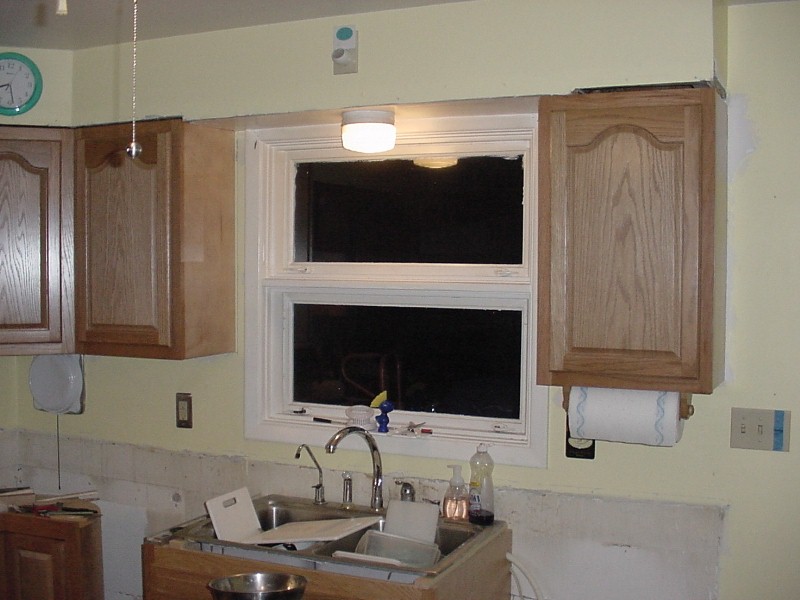
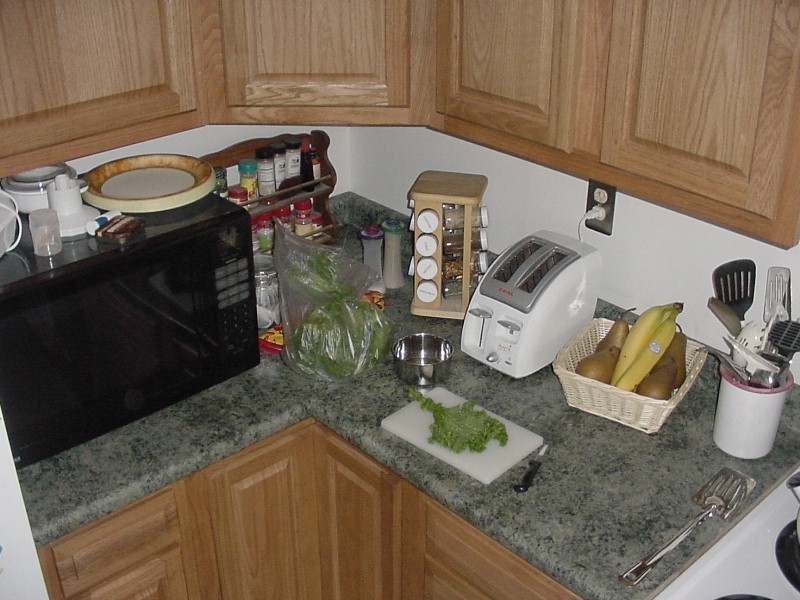
Before ...
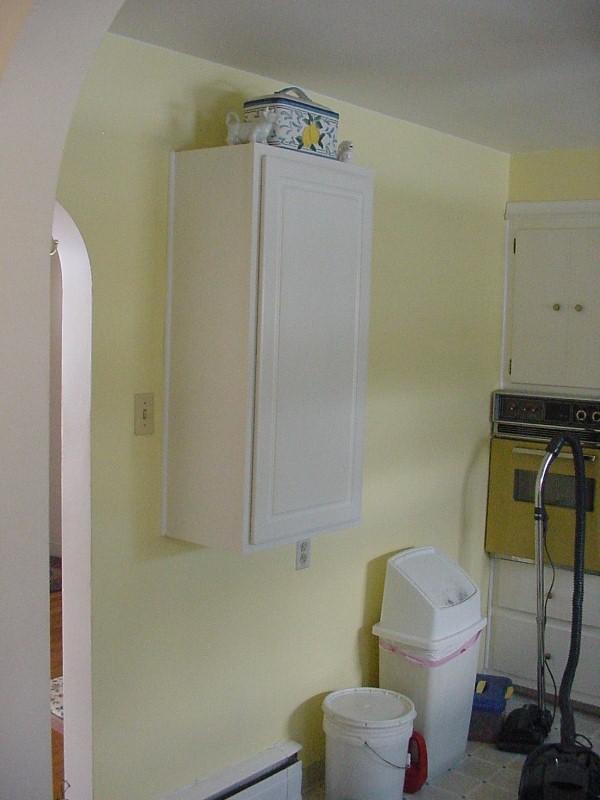
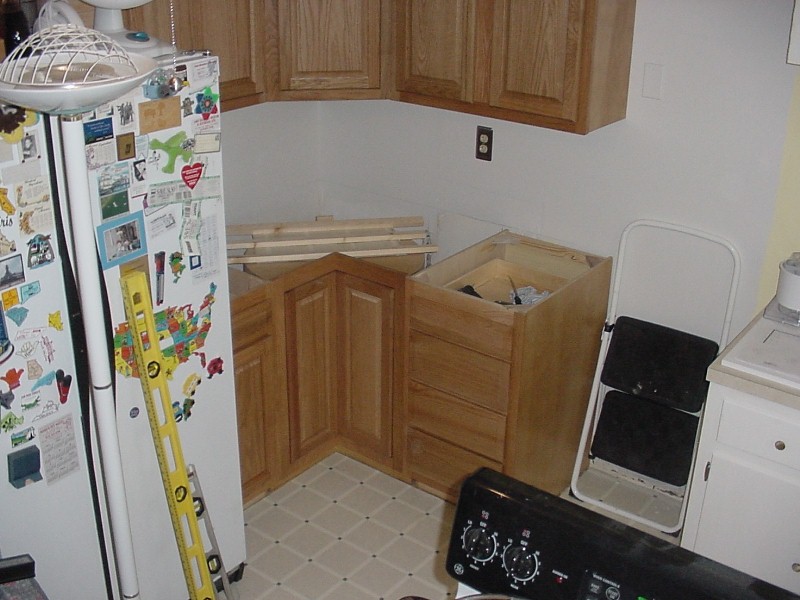
The mini-pantry |
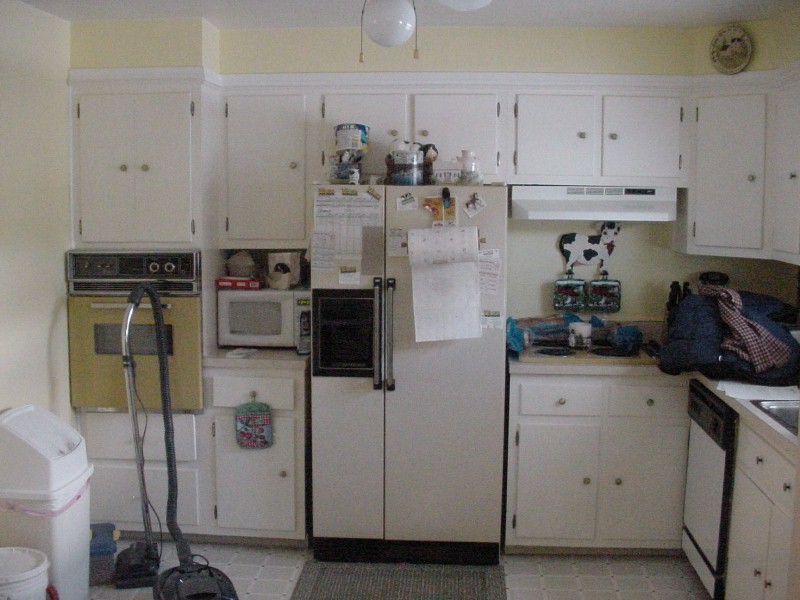
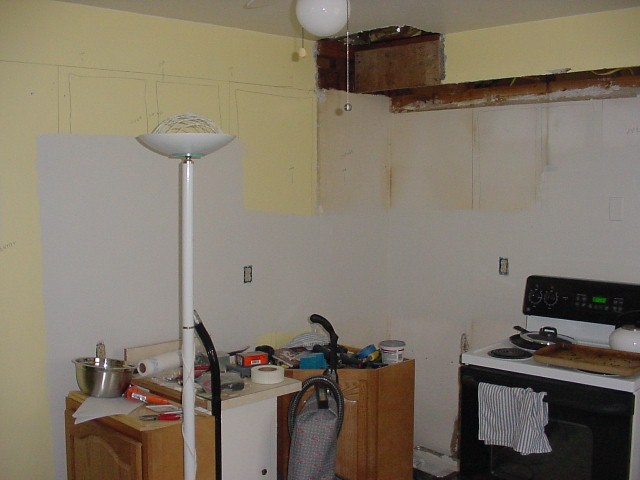
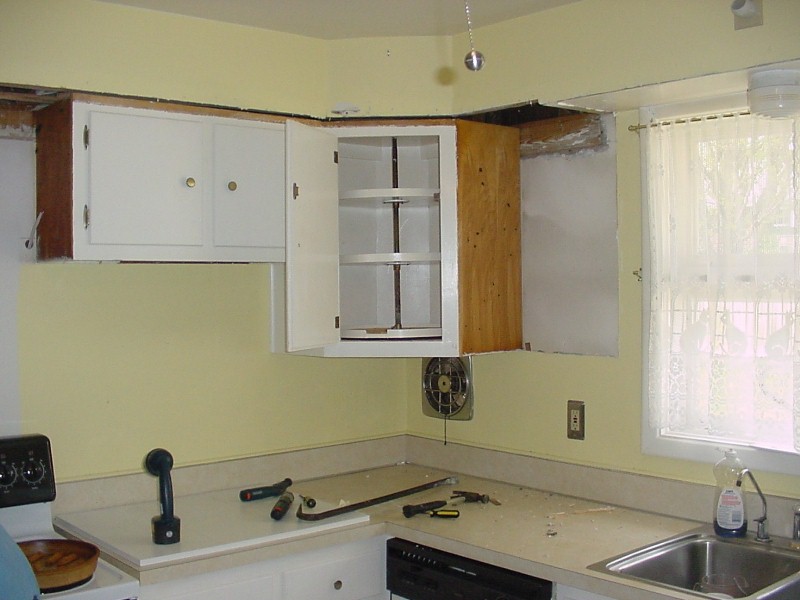
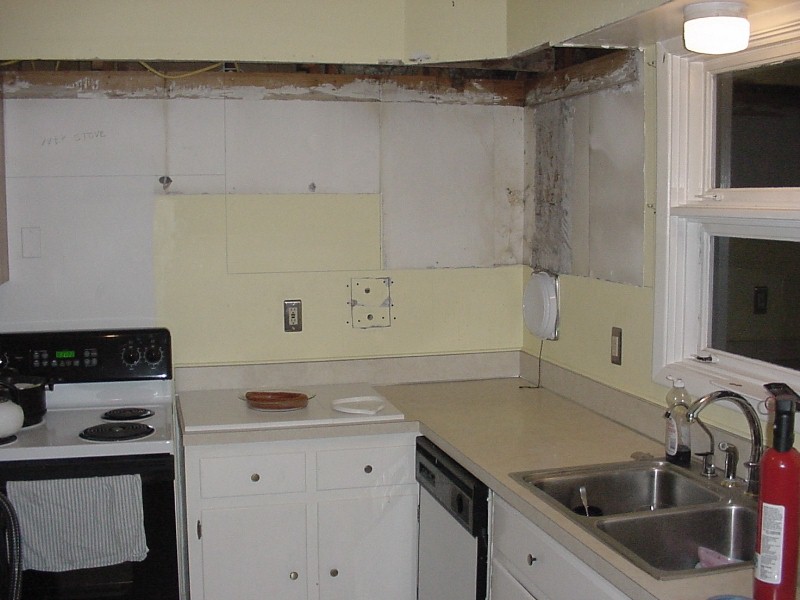
How the previous owners lived |
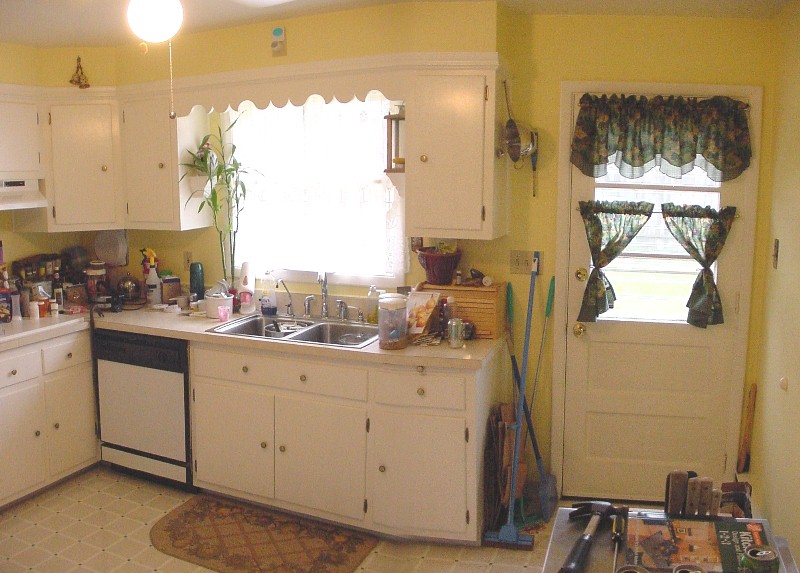
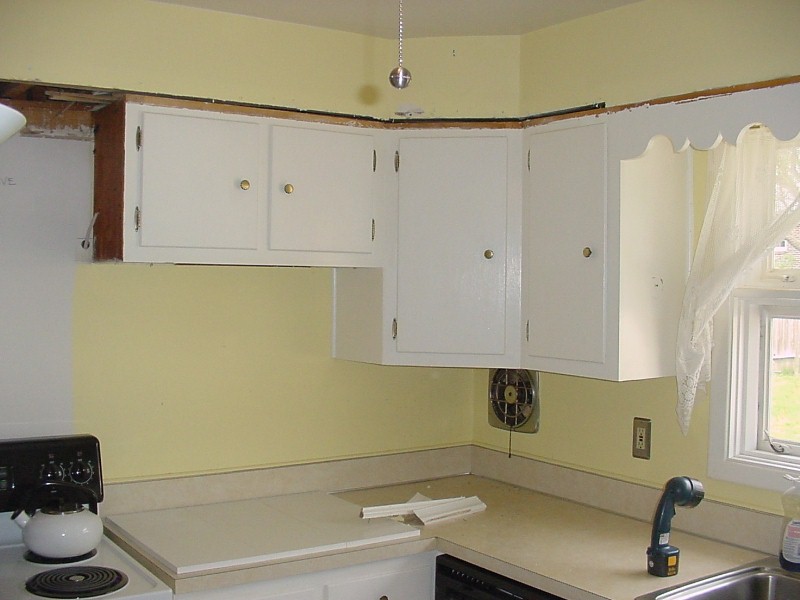
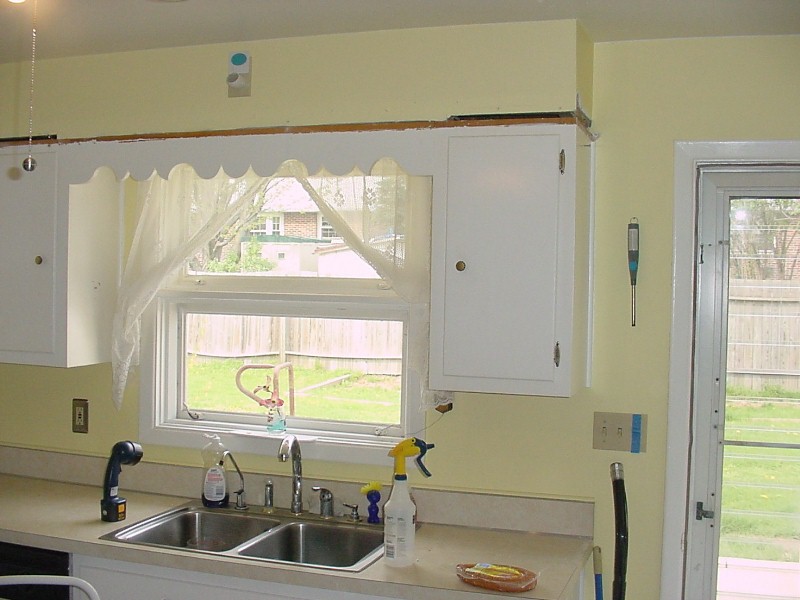
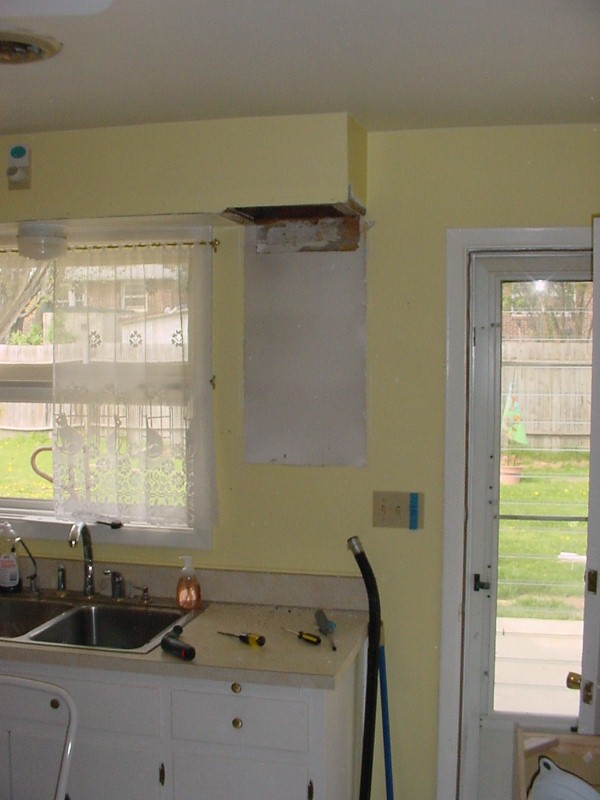
Sink and window side |
During & after ...
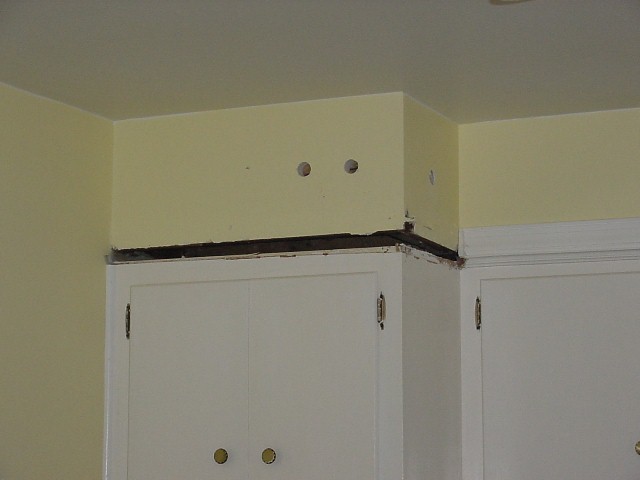
Start by removing the ceiling trim |
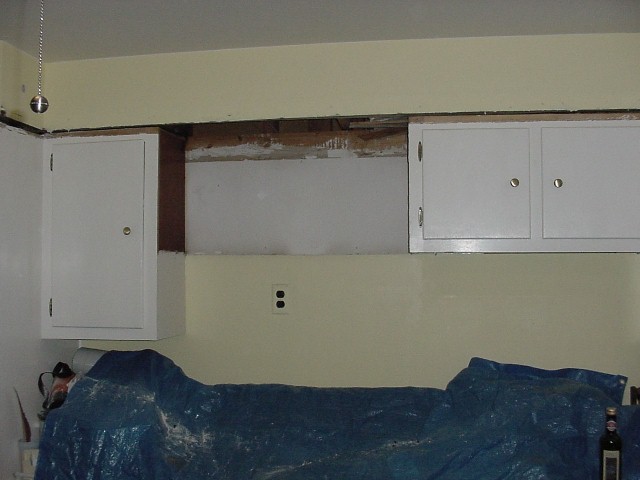
Cabinet #1 is down |
|||
Cabinet #2 bites the dust |
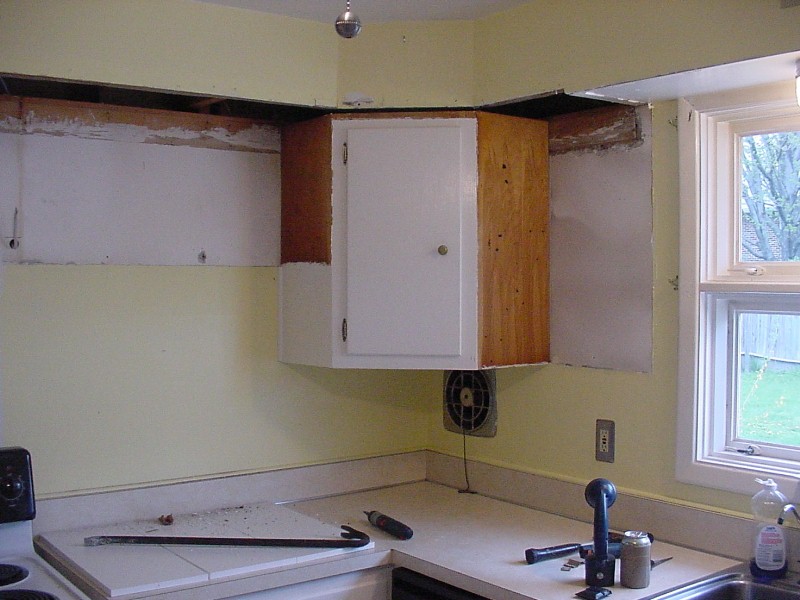
The corner wall unit is gone |
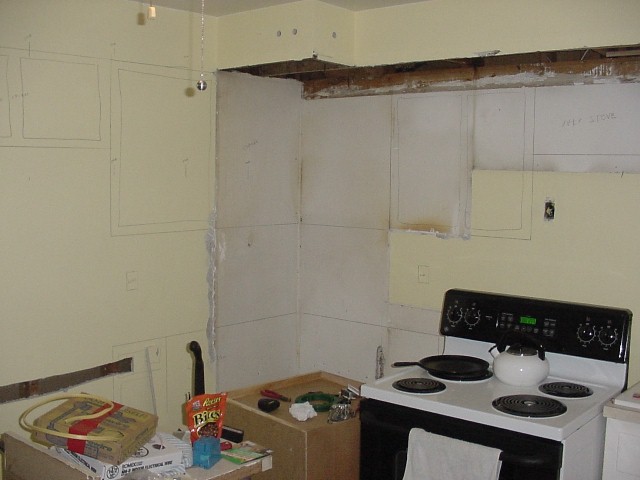
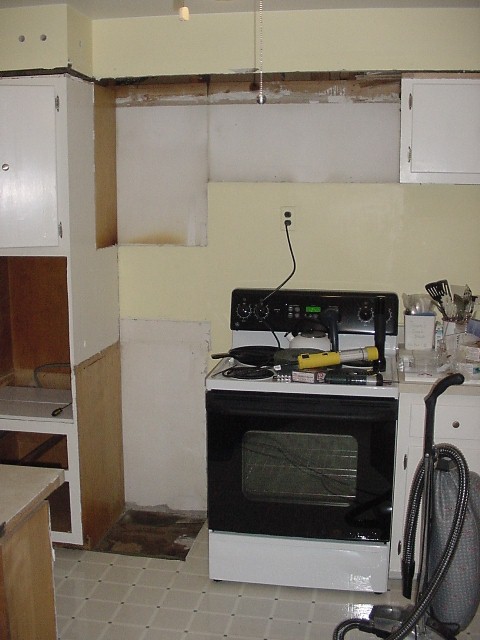
Trace the outline of the new cabinets for fit |

Install new electrical outlet for microwave |
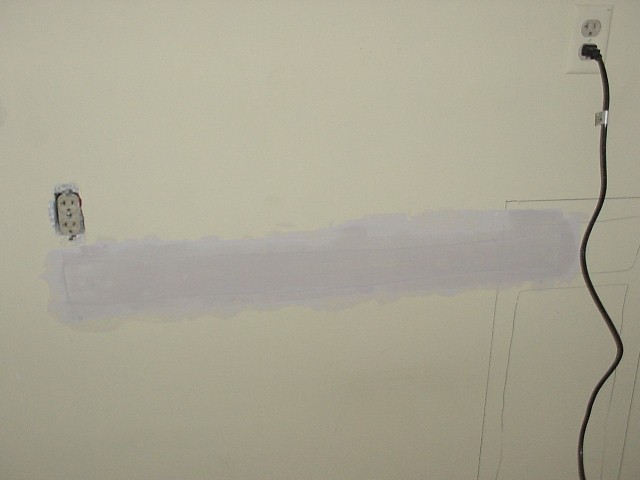
... then repair the hole |
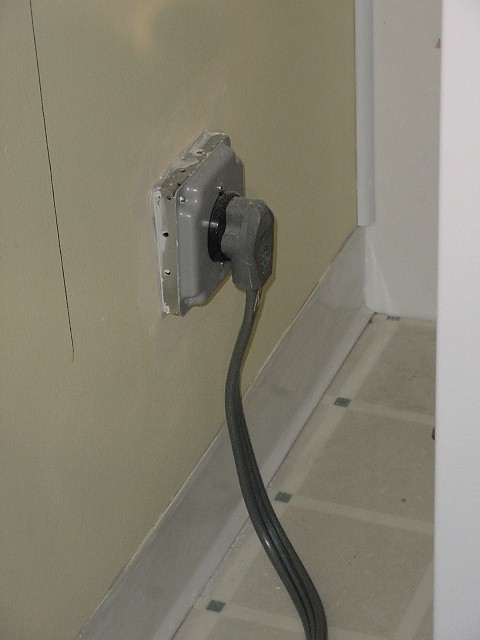
relocate the 240V stove outlet pseudo recessed |
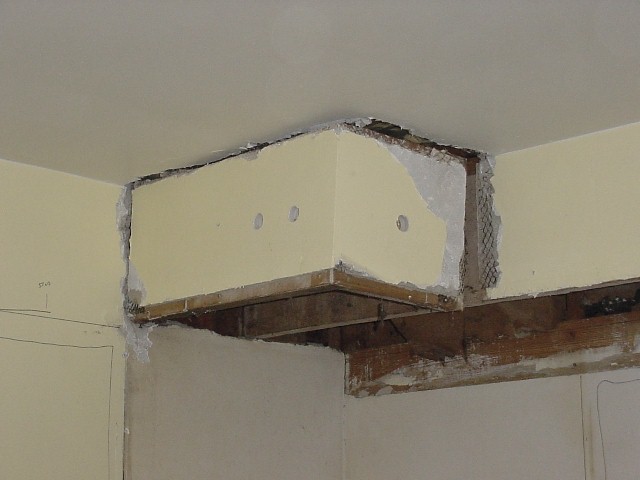
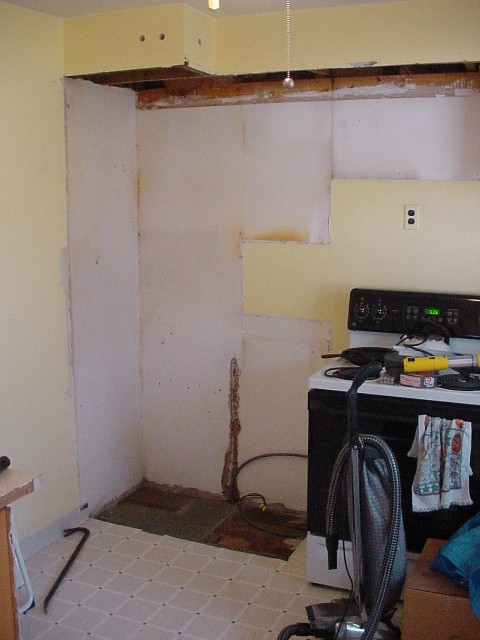
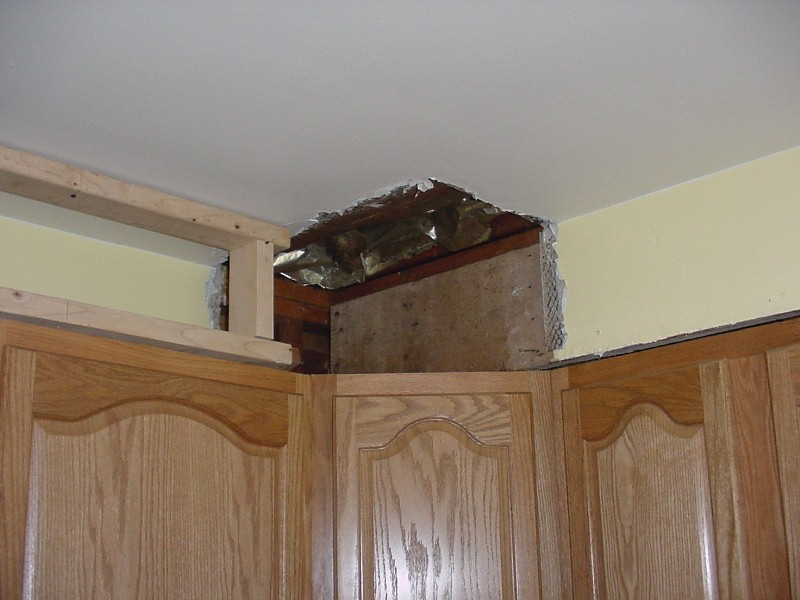
Tearing away at the old drop wall |
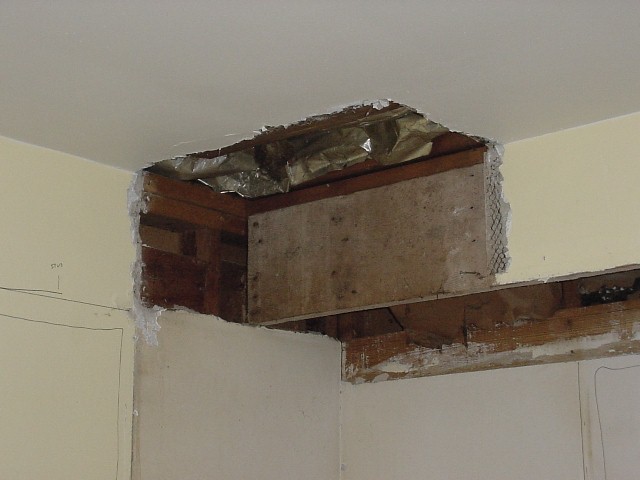
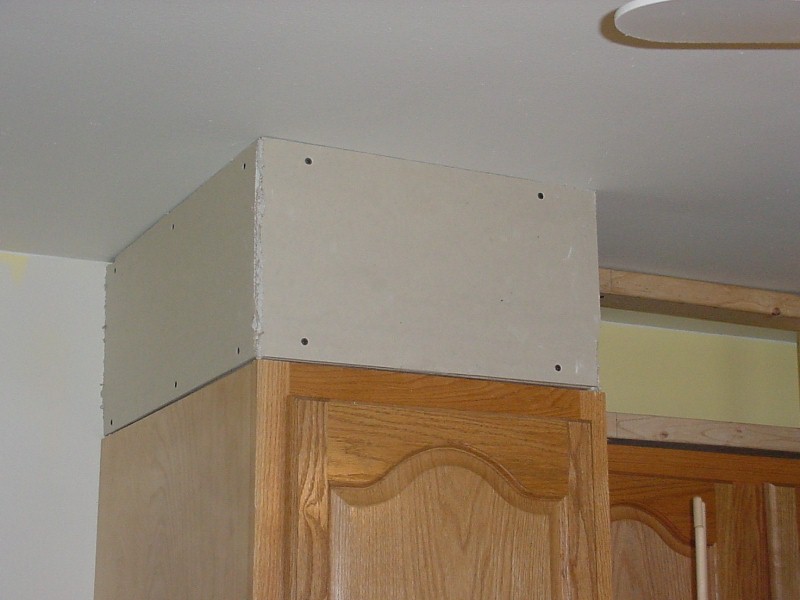
DONE ... this will be replaced with a 45 degree angle to match the cabinets |
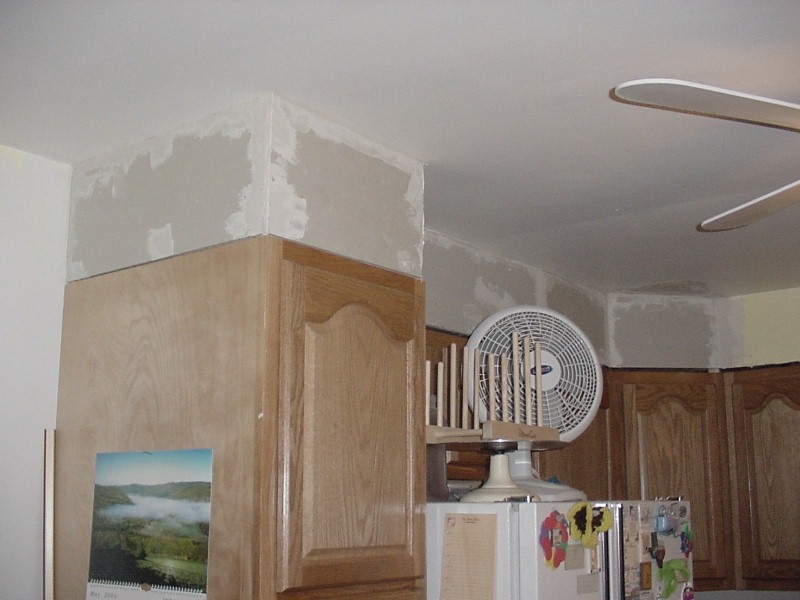
Fill, level, sand, smooth and prime the new exposed wall area |
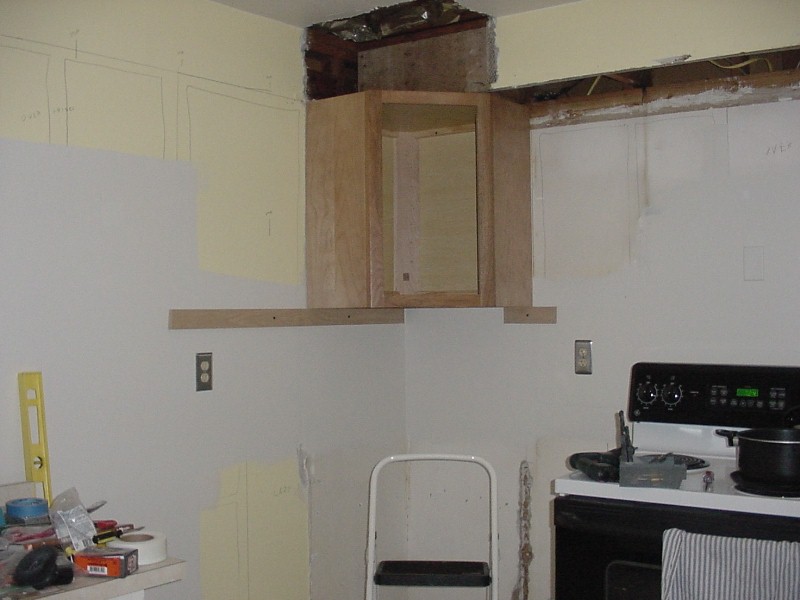
FINALLY ... the first new cabinet gets placed |
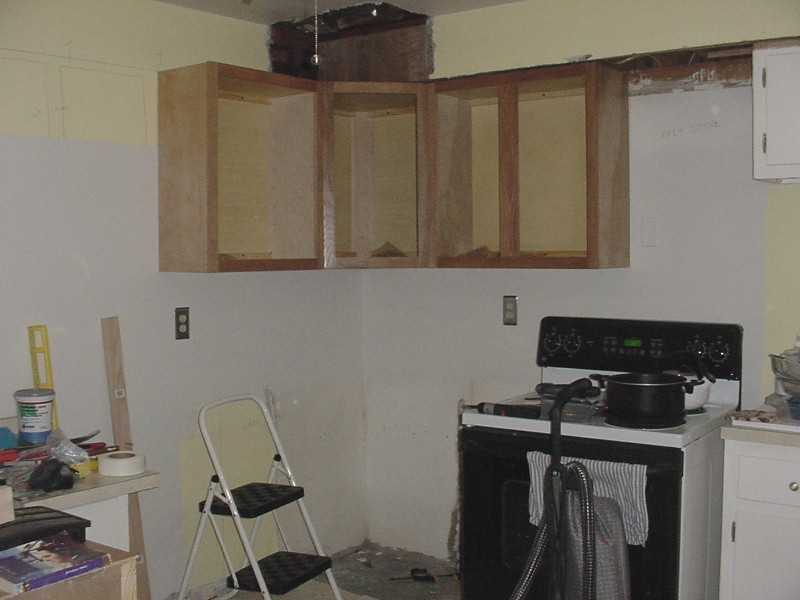
Cabinets 2 & 3 quickly follow |

... then over fridge cabinet and end pantry |
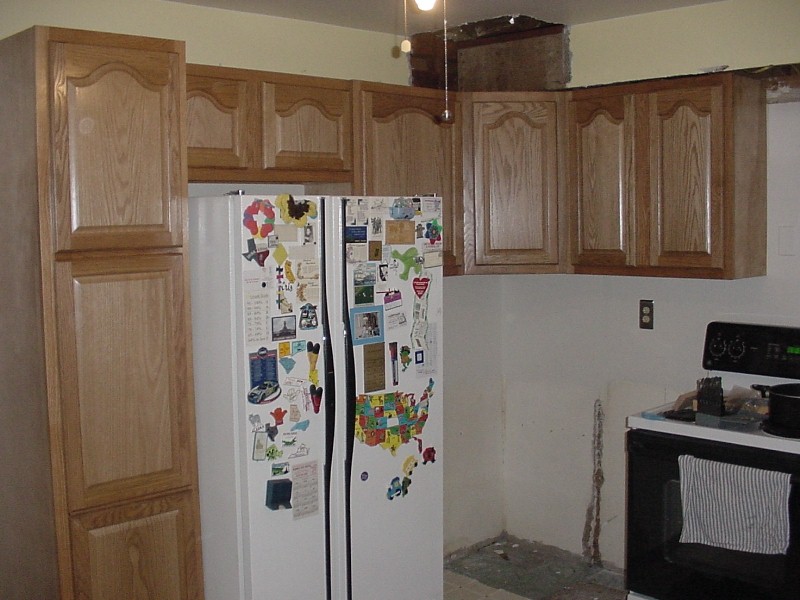
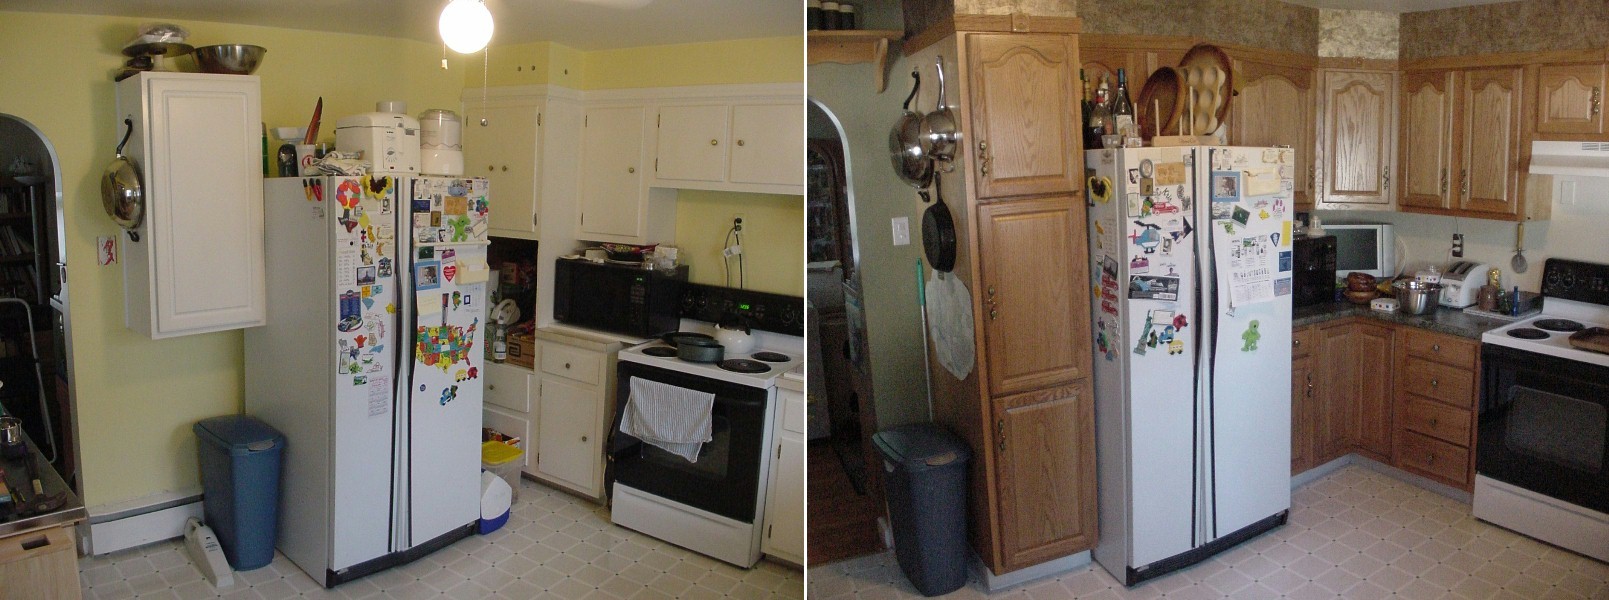
The fridge is finally in its new home |
Comparison between old and new |
New floor cabinets for spacing |
Ready to remove the other side cabinets |
Trim is all gone |
End Cabinet gone |
Only two left |
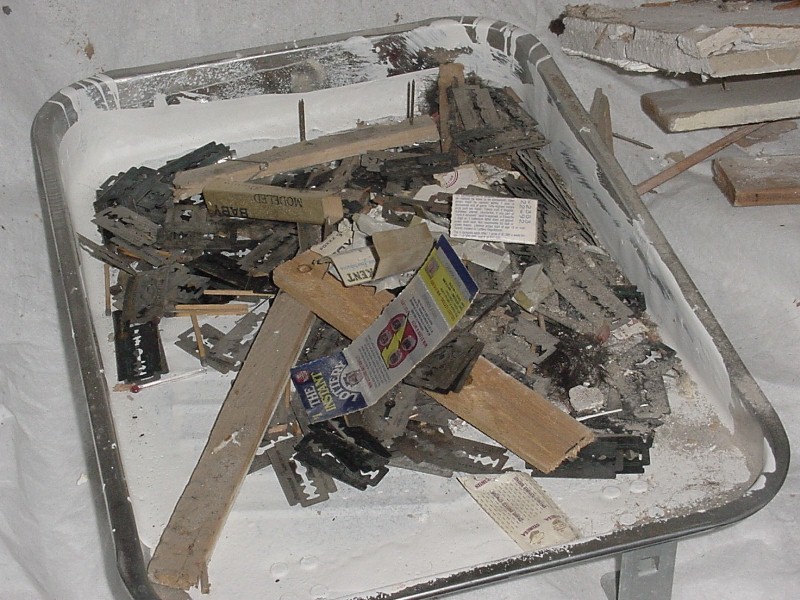
Ever wonder where all those razor blades go? |

Even a nostalgic matchbook cover |
The last cabinet is ready to go |

A clean wall, ready for filling, sanding and priming |
The last of the new electrical outlets |
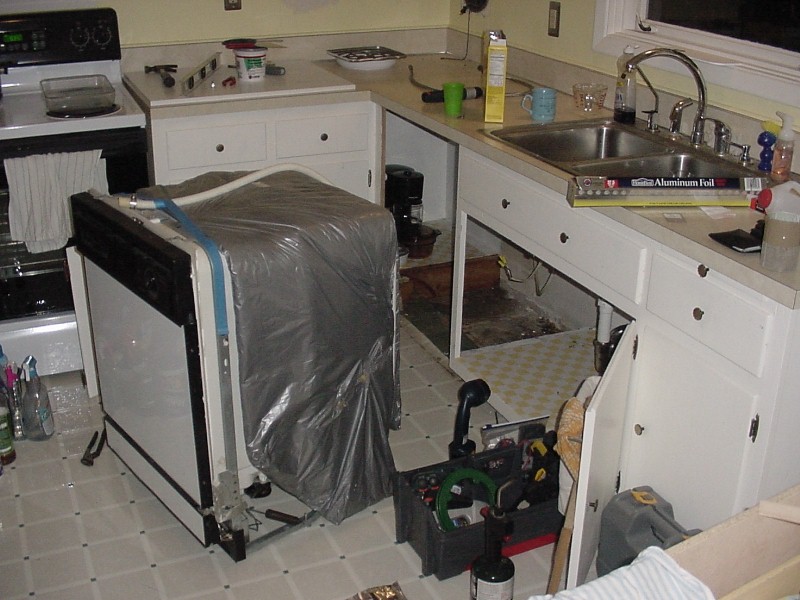
Removing the dishwasher |
Prepping the last cabinets for removal |
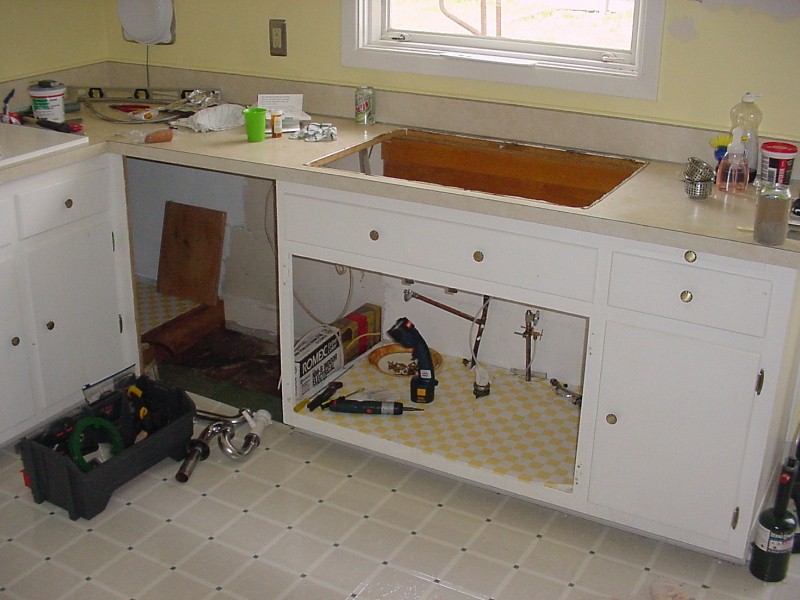
The countertop is ready to go |

... GONE |
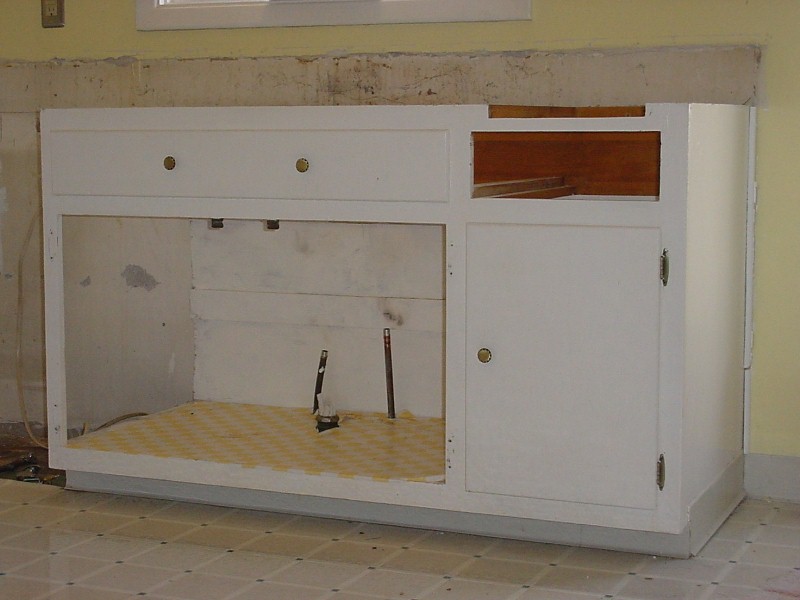
Time to get the carcass off the plumbing |
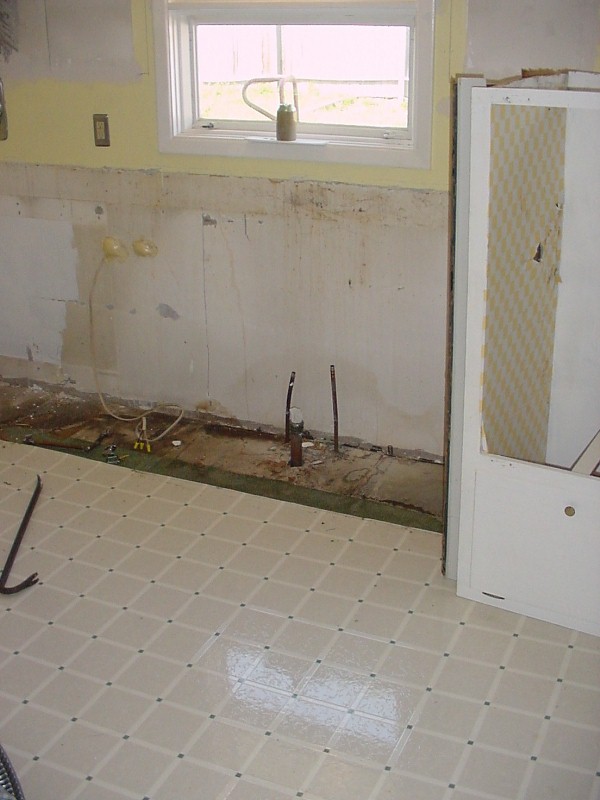
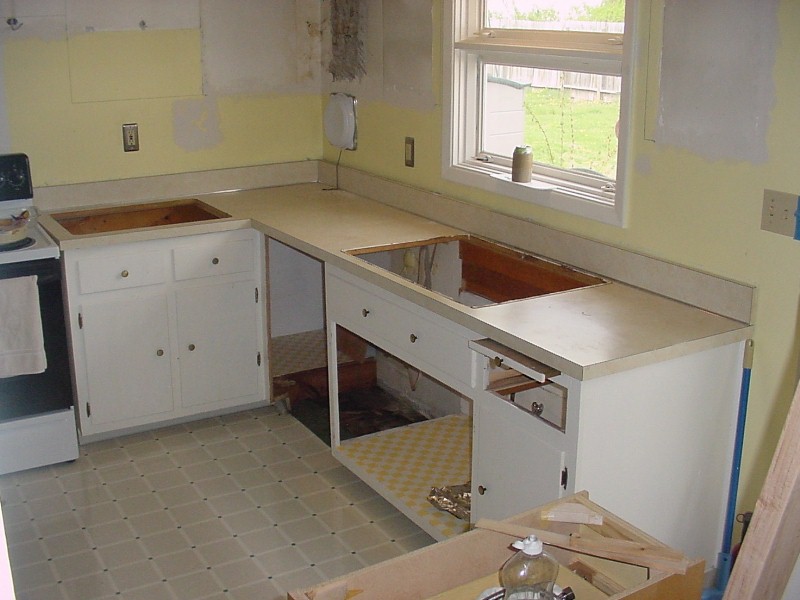
A free floor |
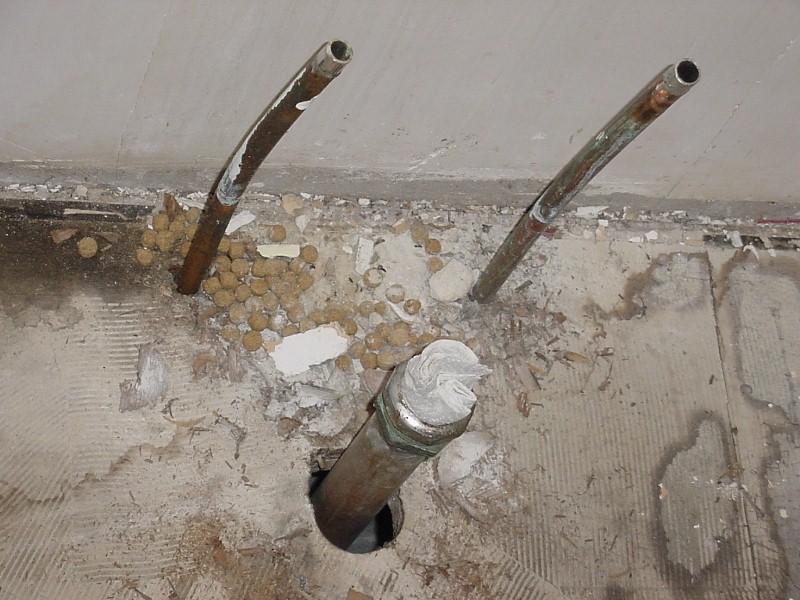
No wonder they had a mouse problem |
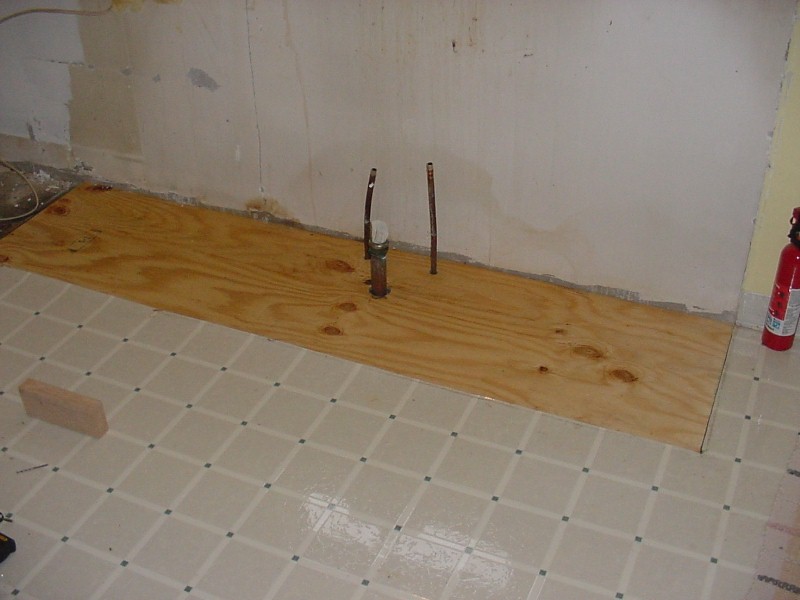
New subfloor for the new sink cabinet |
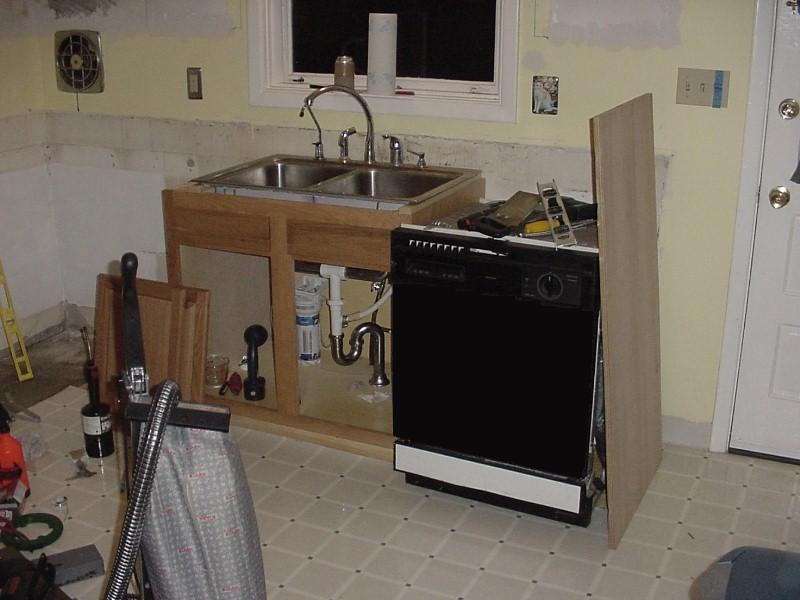
Sink and dishwasher roughed in |
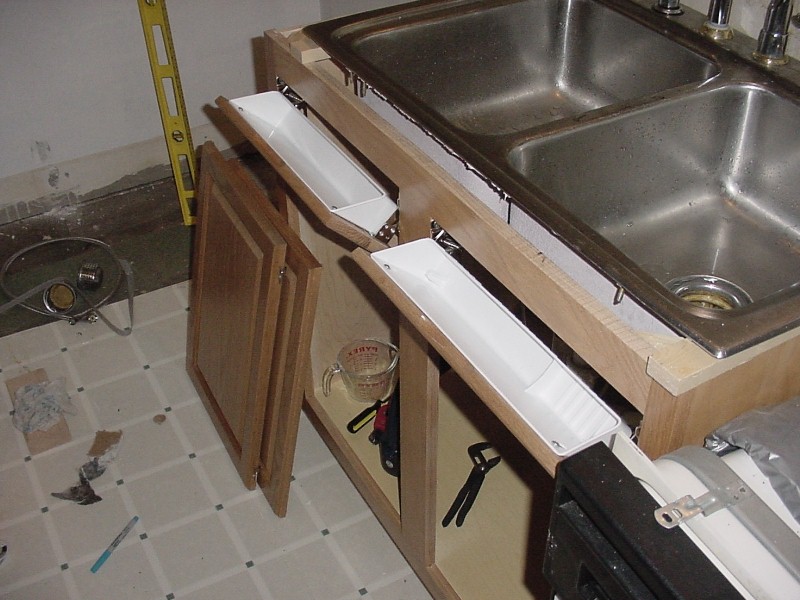
Tip-outs for the sink panels |
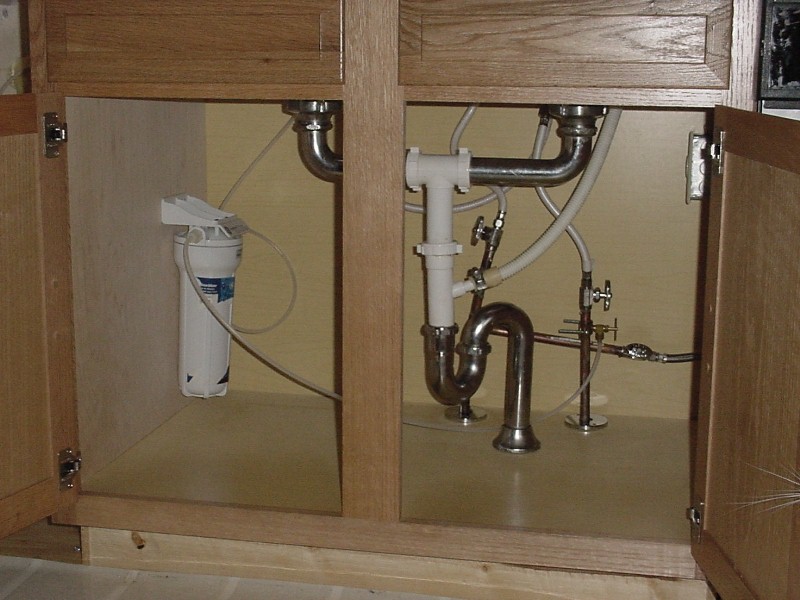
Happiness is leak-free plumbing |
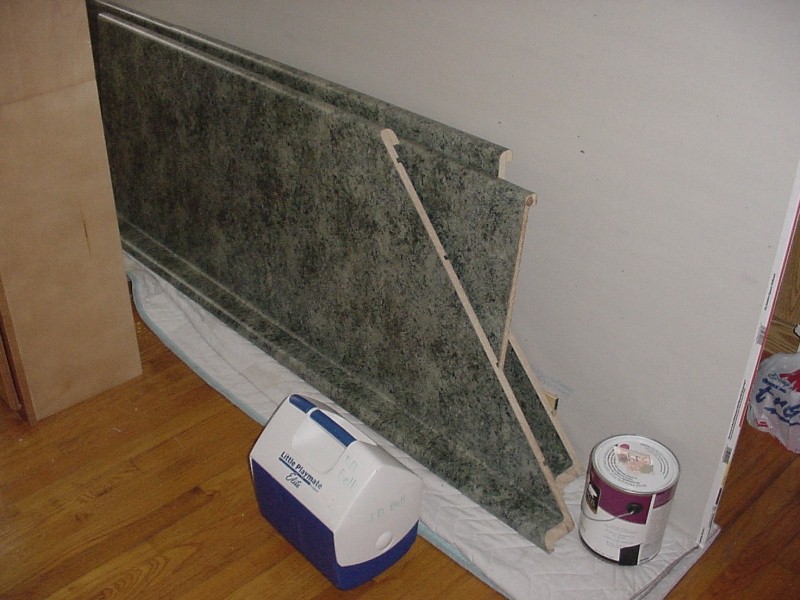
Uncut countertops on the hoof |
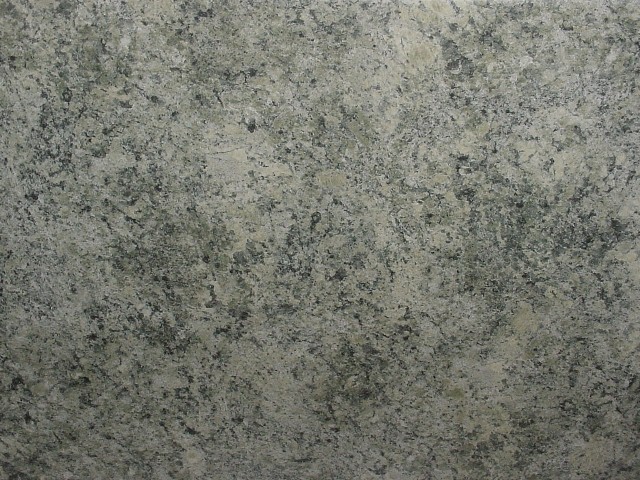
A nice green speckled design |
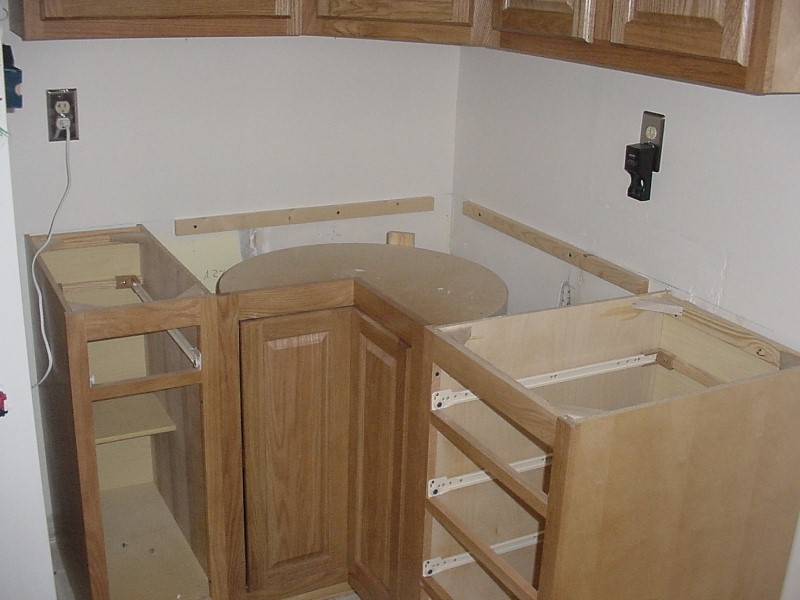
Floor cabinets are anchored and ready for countertop |
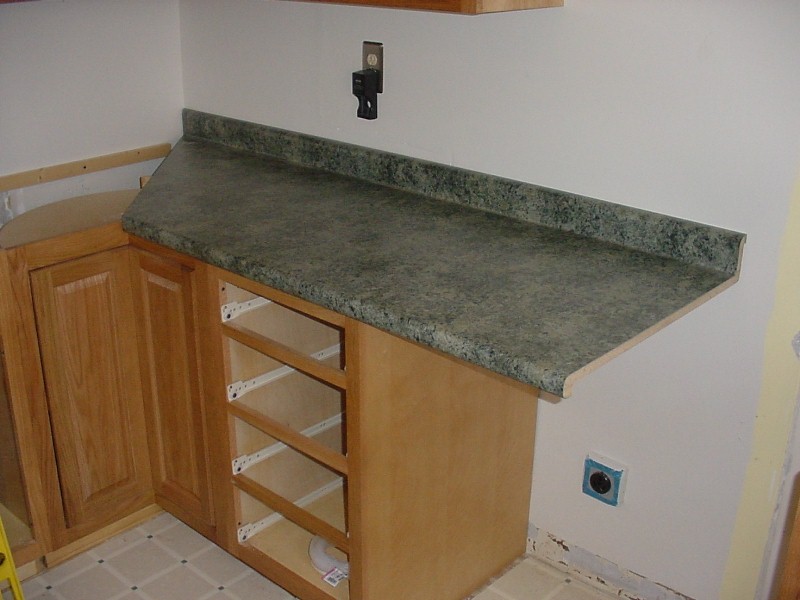
Test fit uncut countertop |
Cut, mitered and ready for end caps |
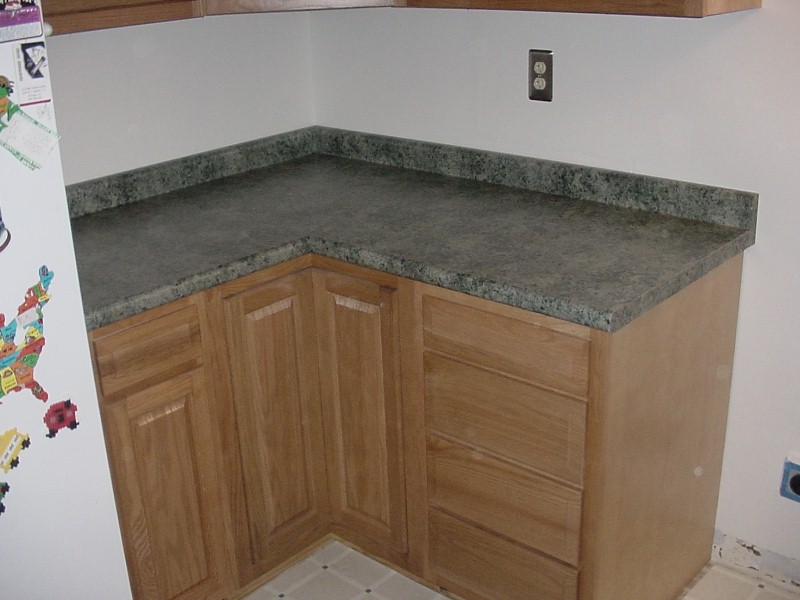
End caps in place |
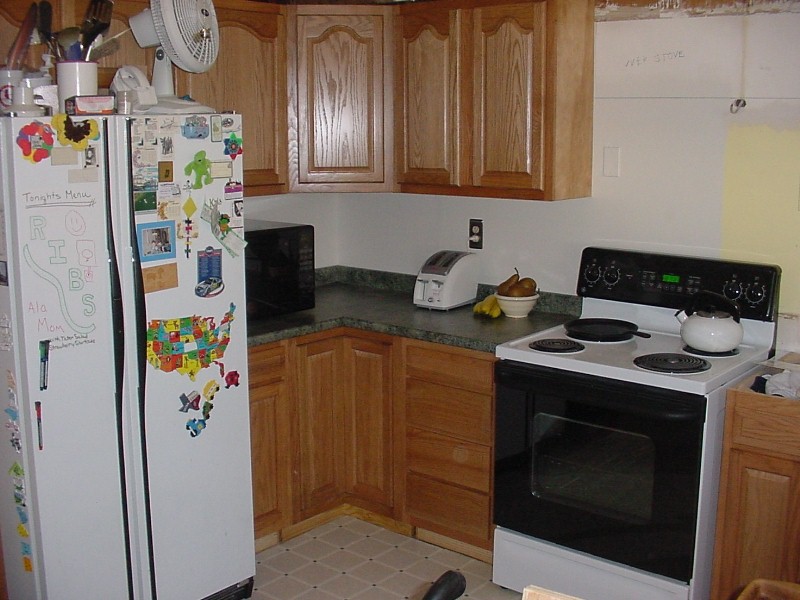
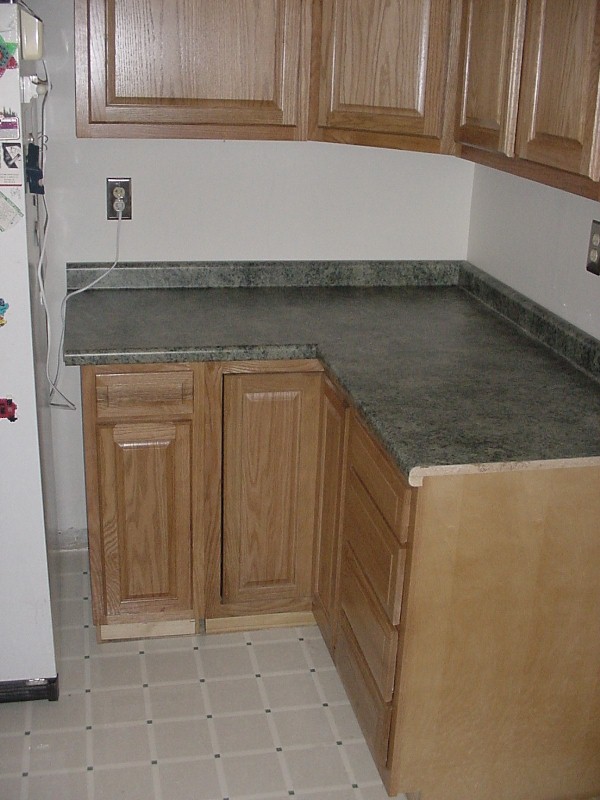
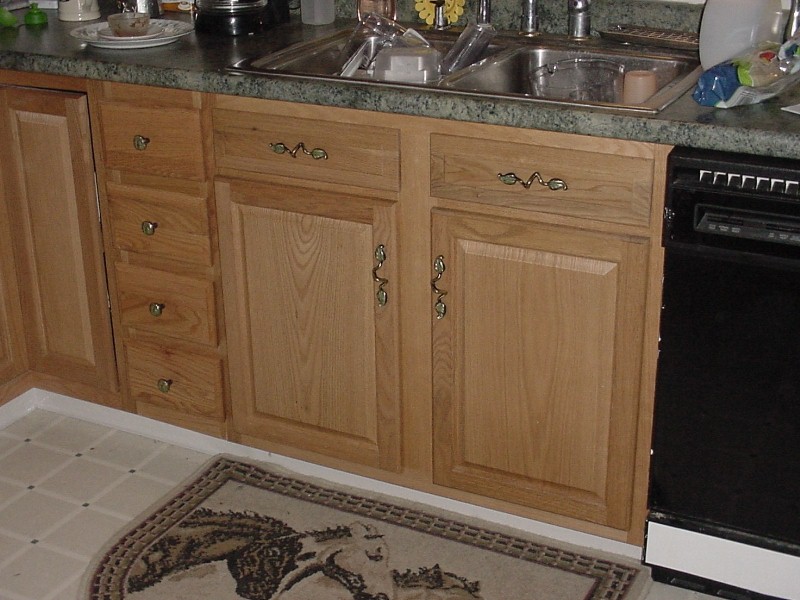
Appliances back in place |
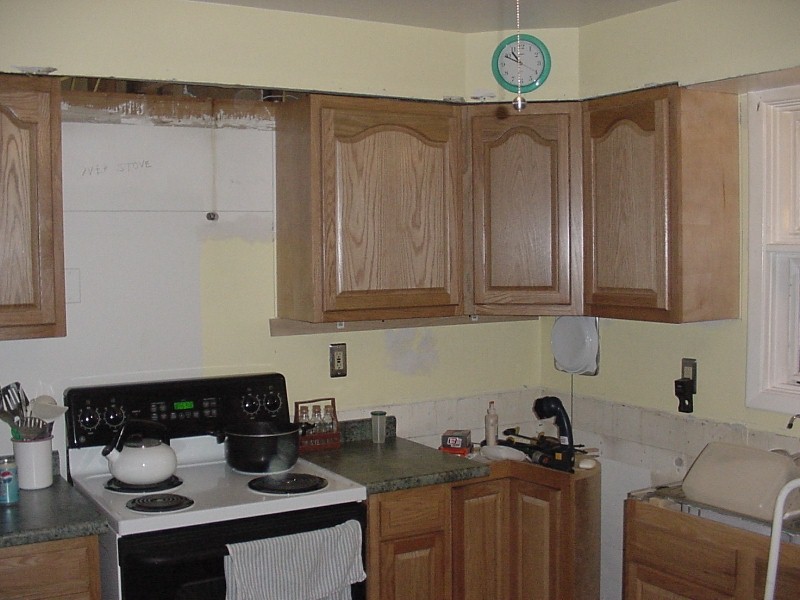
Three more cabinets hang on the wall |

... all that's needed is the over-stove cabinet |
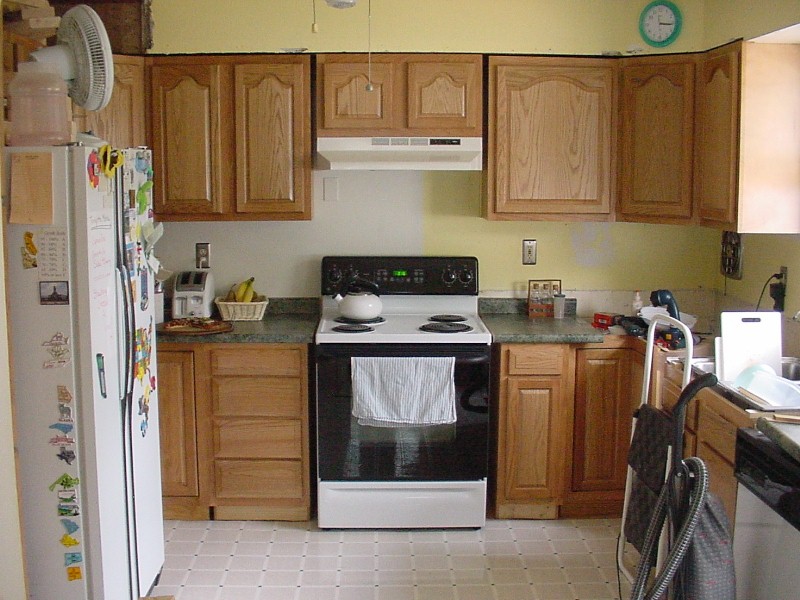
Cabinet and range hood in place |
Trim in place. Now THAT looks nice |
The last cabinet is up |
Making immediate use of valuable counter space |

Ready to tackle the new sofit |
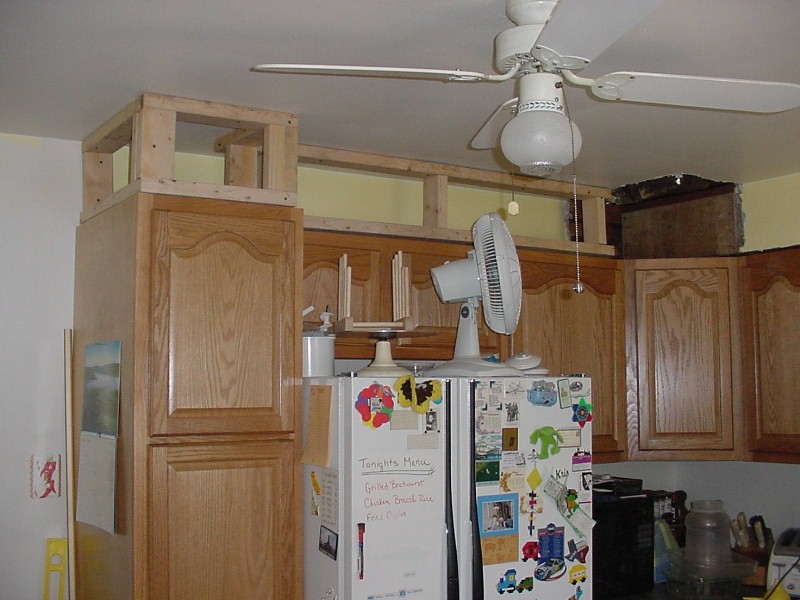
Rough framing complete |
Drywall goes up |
Time for that eyesore of a hole |

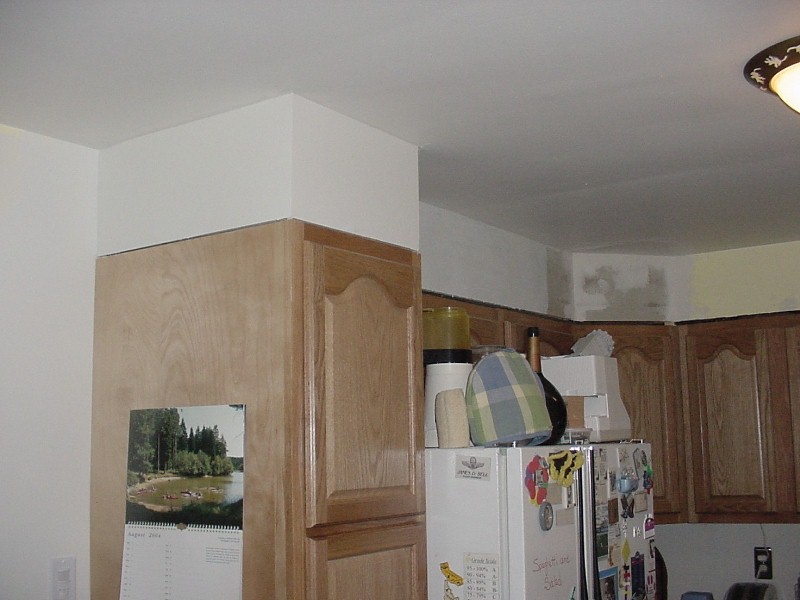
... covered !!! |
Add a little joint compound then sand |
Sanded and painted, ready for paper and trim |
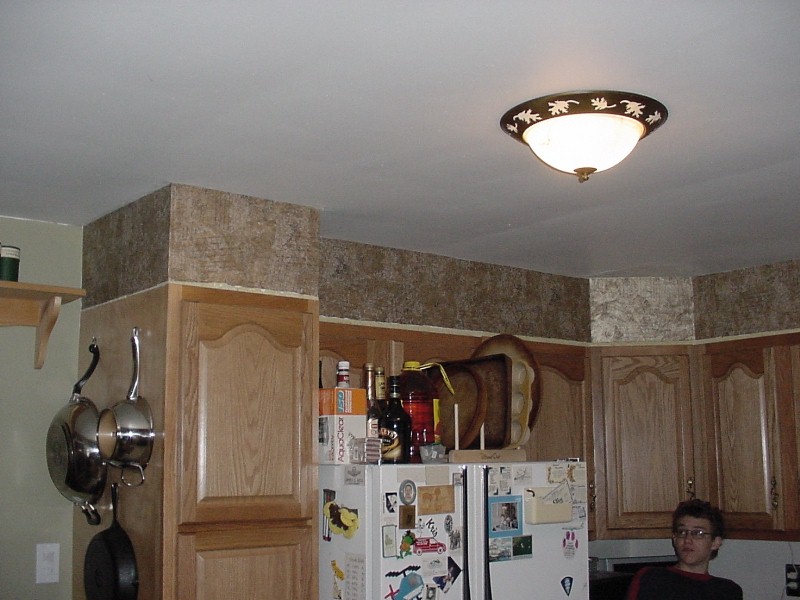 Decorative wall paper is added |
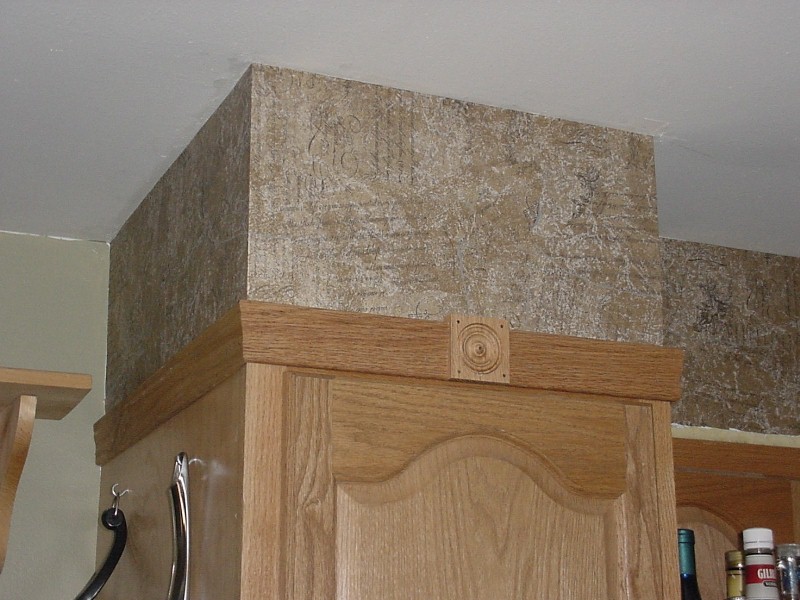
... finished off with trim and rosettes |
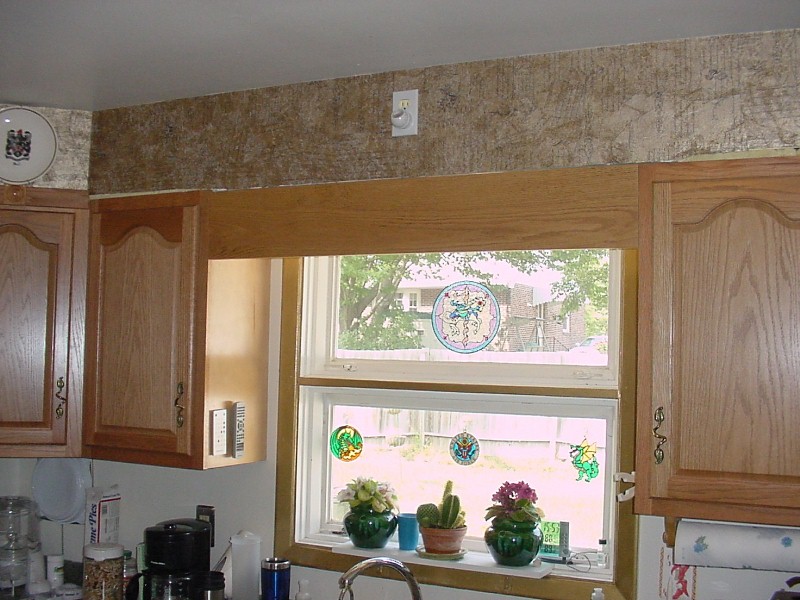
Working on the over-sink feature |
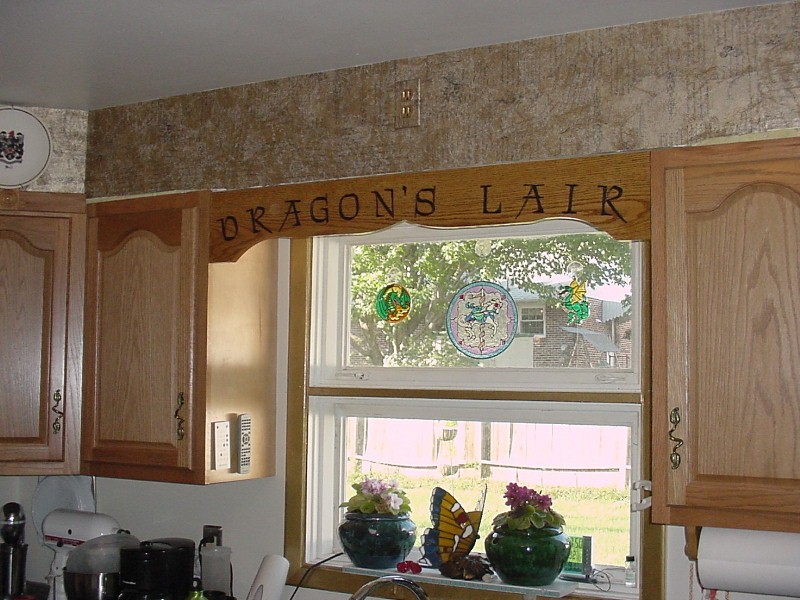
The kitchen is now officially the DRAGON'S LAIR |
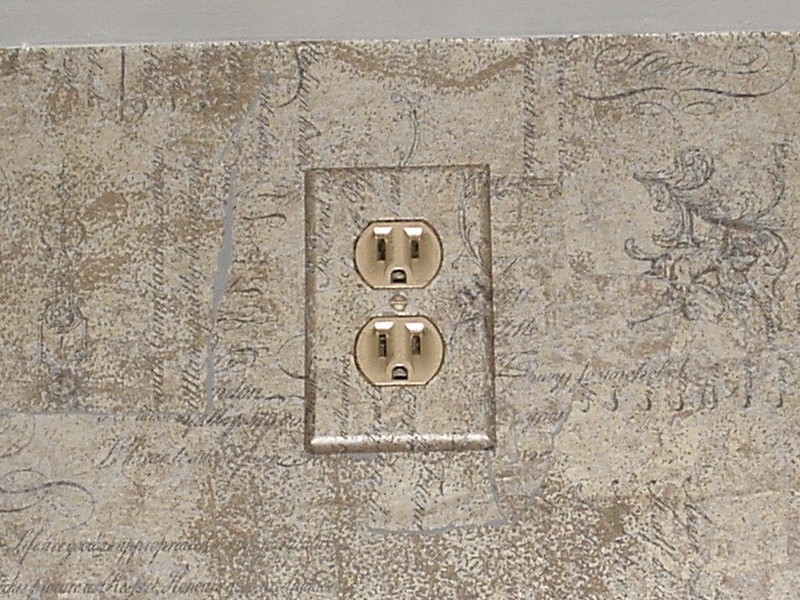
Outlet detail |
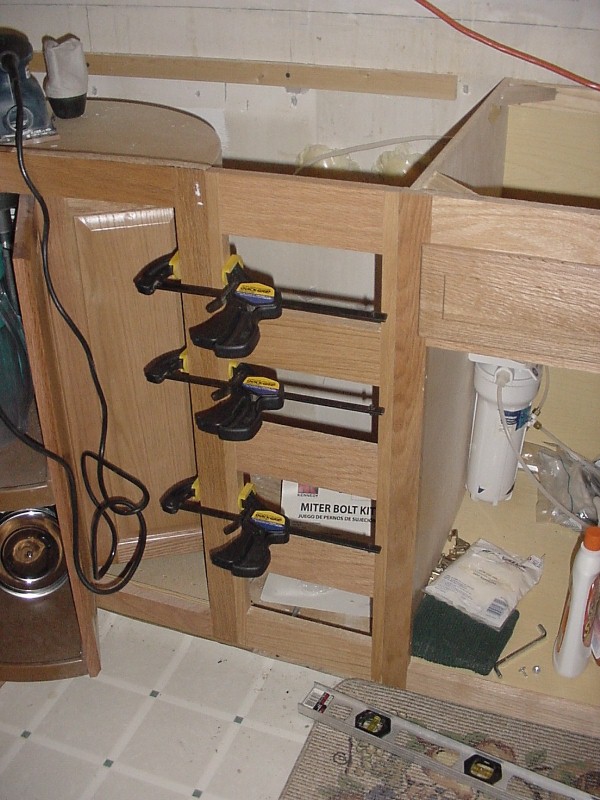
Fabricating the last drawers from scratch |
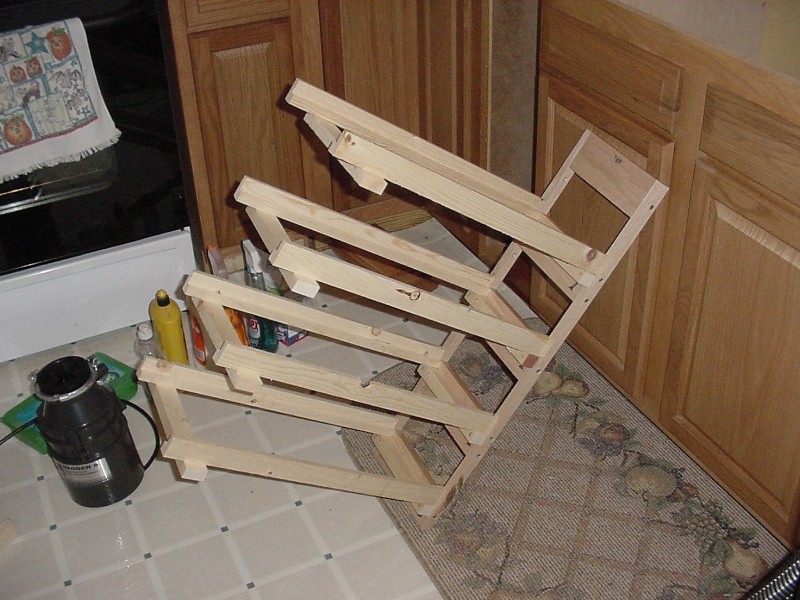
The inner works |
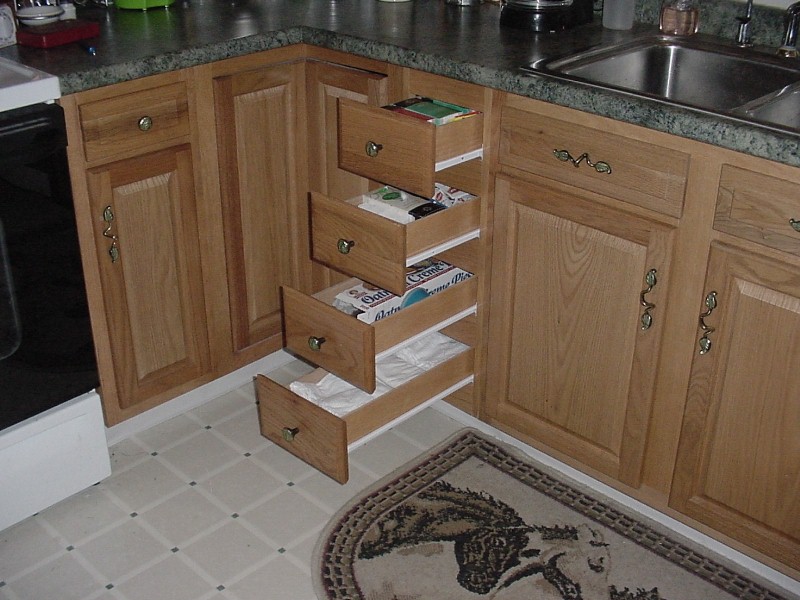
Finished drawers with runners |
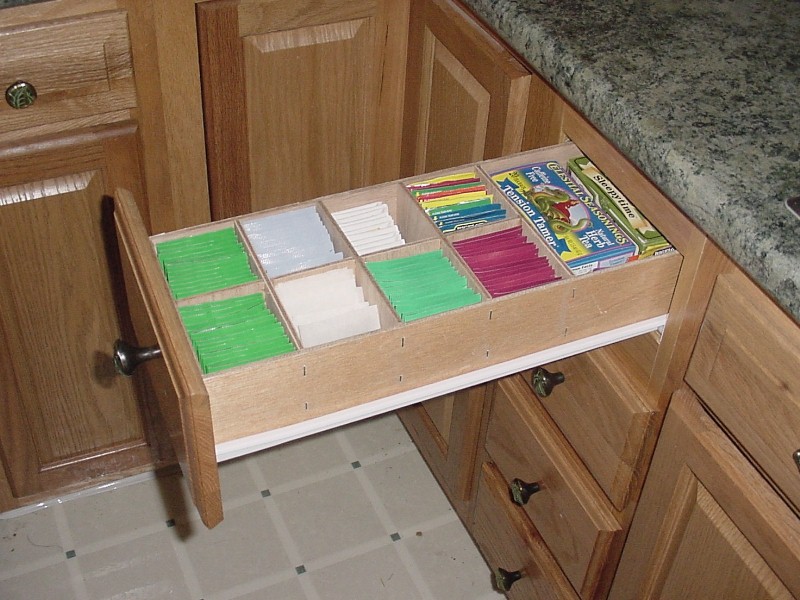
The top drawer has custom dividers for Kristy's tea stash |
They all look good with brass pulls |

- |
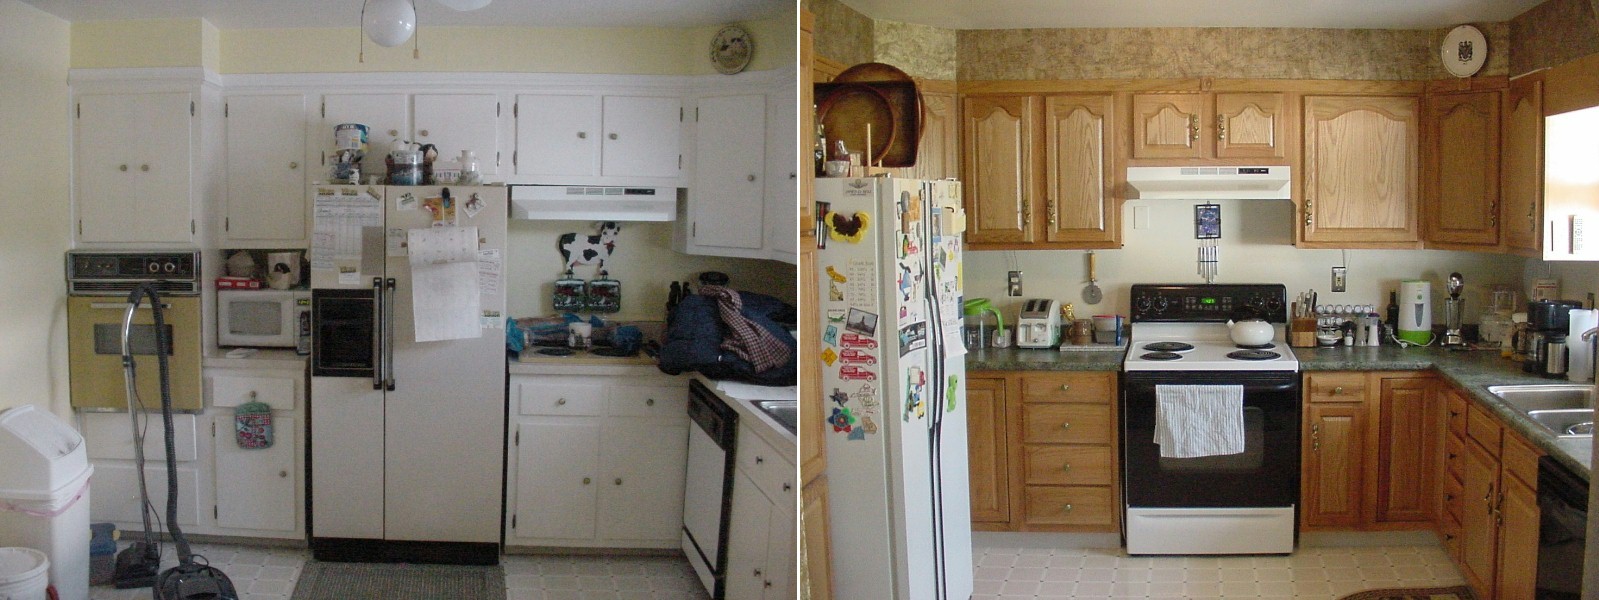
Quick peek ... before to mostly done
- |
- |
- |
![]()
... while Kristy tackles the guest bathroom
|
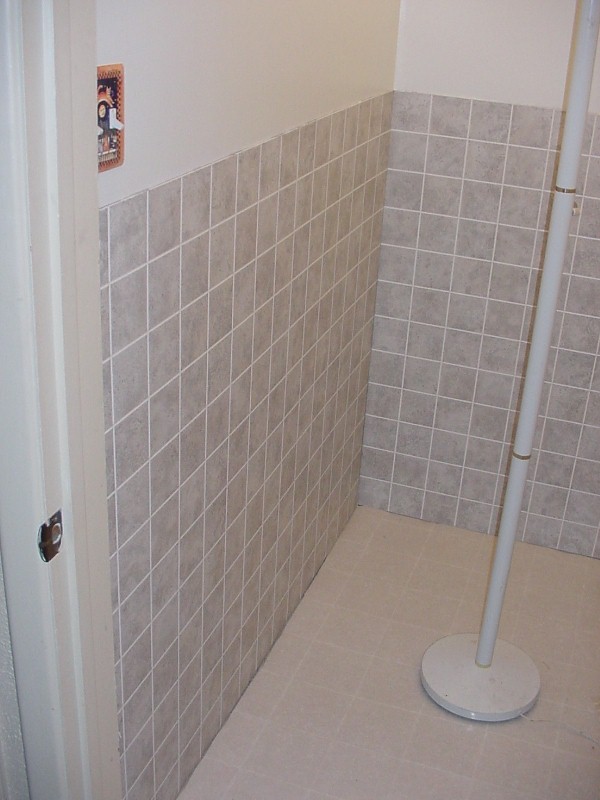
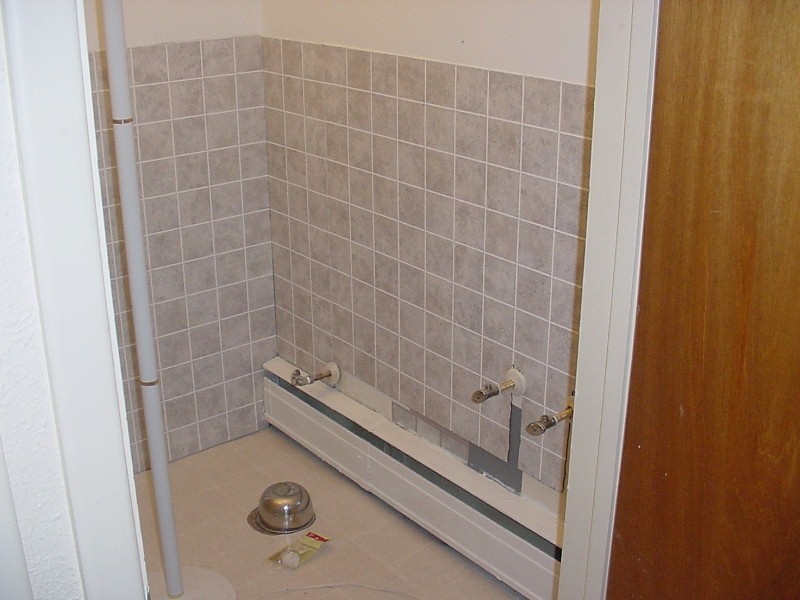
Kristy had not felt comfortable with the family room "guest" bathroom since we moved in. While I busied myself with the kitchen, she decided to do some renovation down there. It wasn't long before she realized there was a fair amount of water damage to the baseboard sheetrock. What looked like wallpaper on the lower half of the room was nothing more than cabinet shelf liner ... at least it came off easily. She then put up some new tiling, coping and trim, then a fresh coat of white paint on the upper half. It looks much better now and all we need to do is mount the oak wall cabinet and mirror over the sink. Since the wall right behind the sink is the brick wall for the crawlspace, we will need to drill into the masonry to attach the anchors for both. More to follow ... |
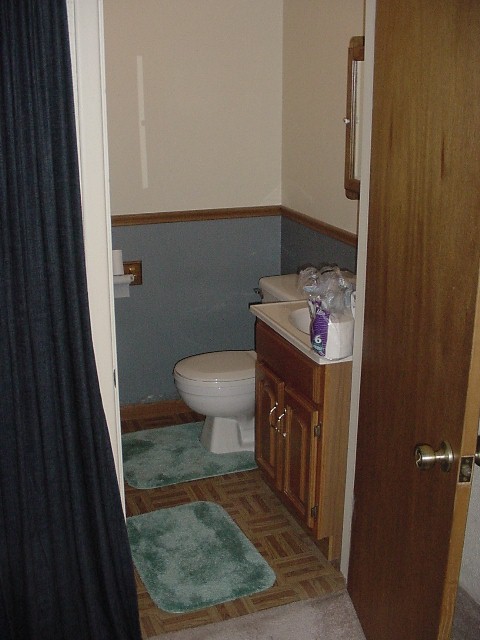
How it looked on closing day |
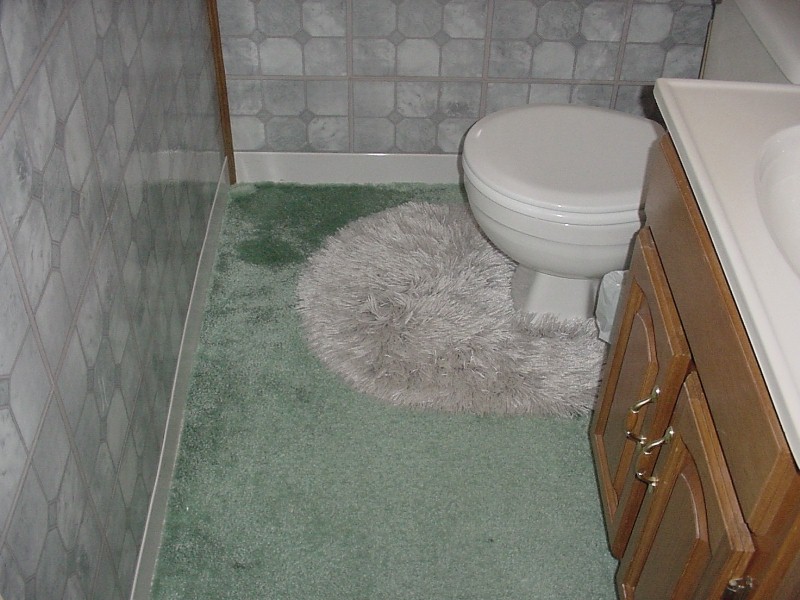
After the first renovation, then flood damaged |
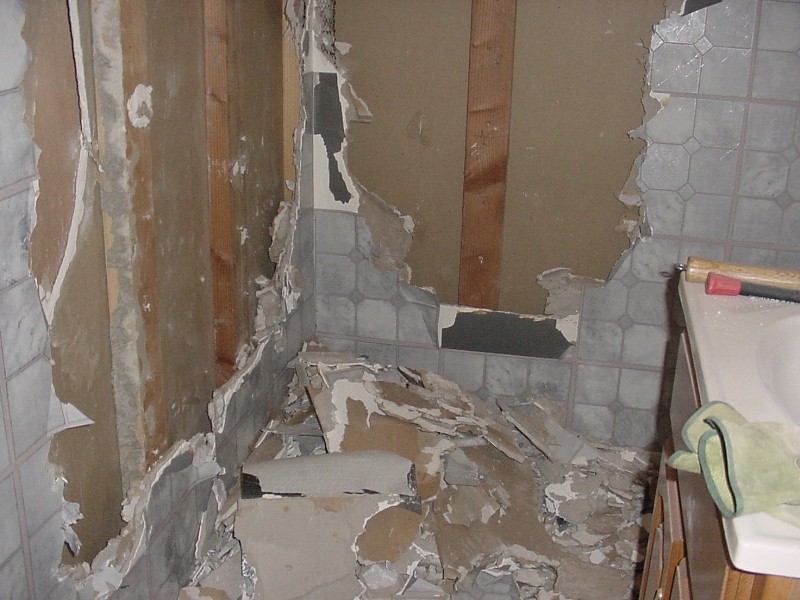
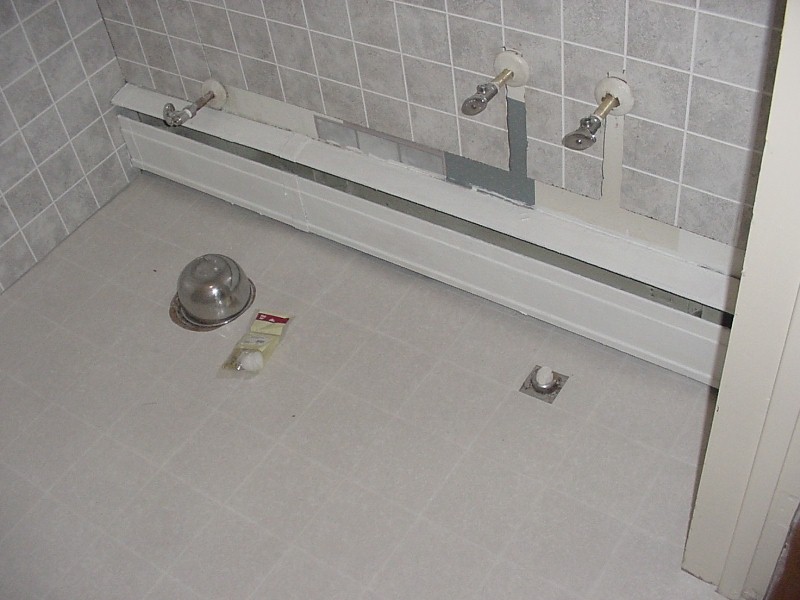
Removing the rotten sheetrock |
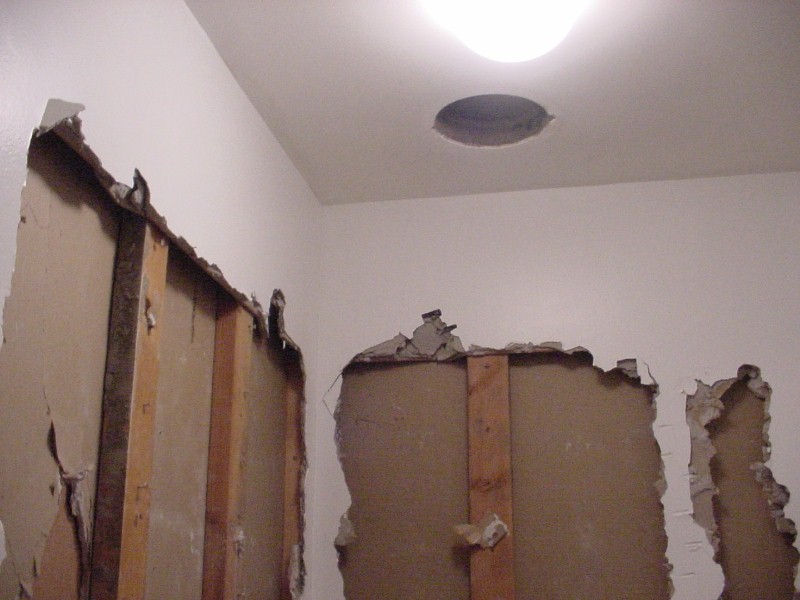
Making progress |
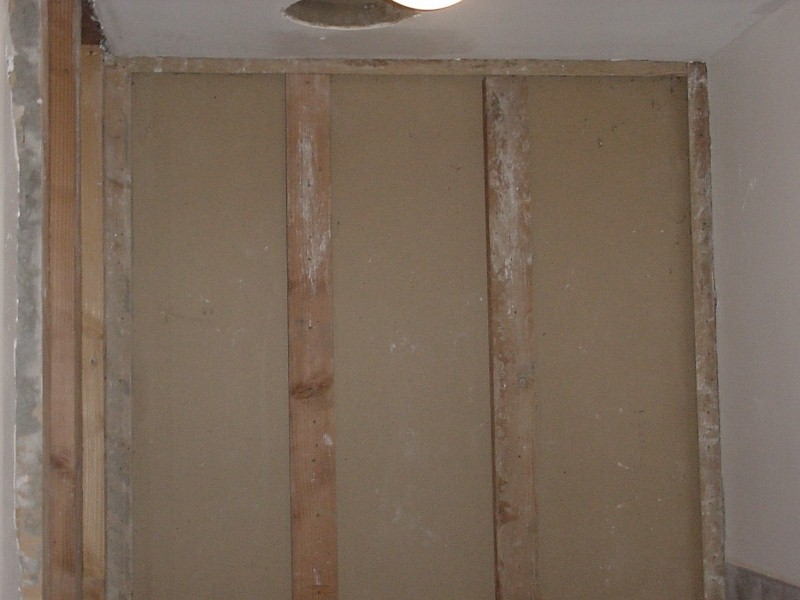
Walls cleaned and ready for new sheetrock |
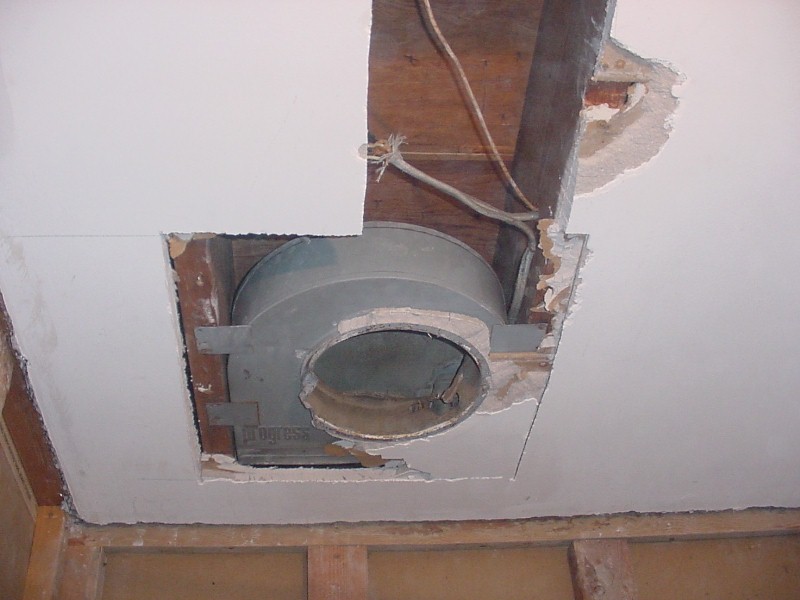
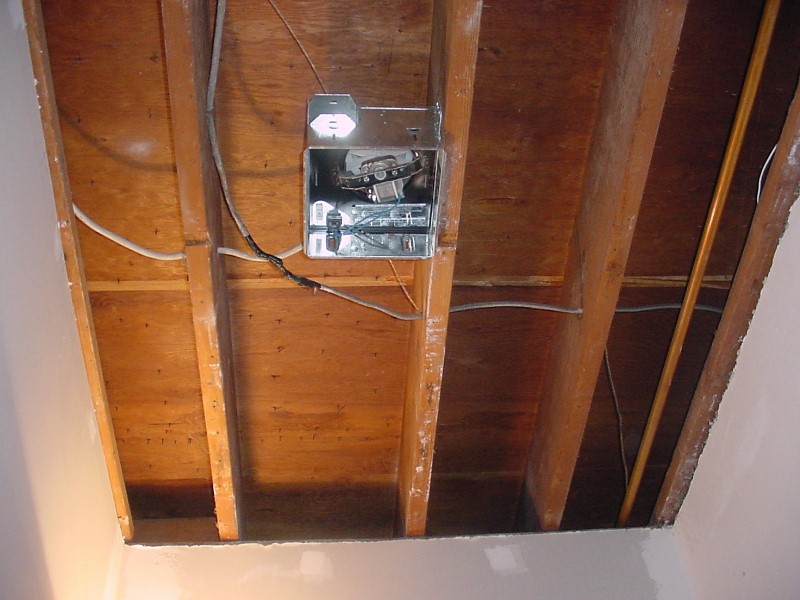
Removing the old ceiling and dead exhaust fan |
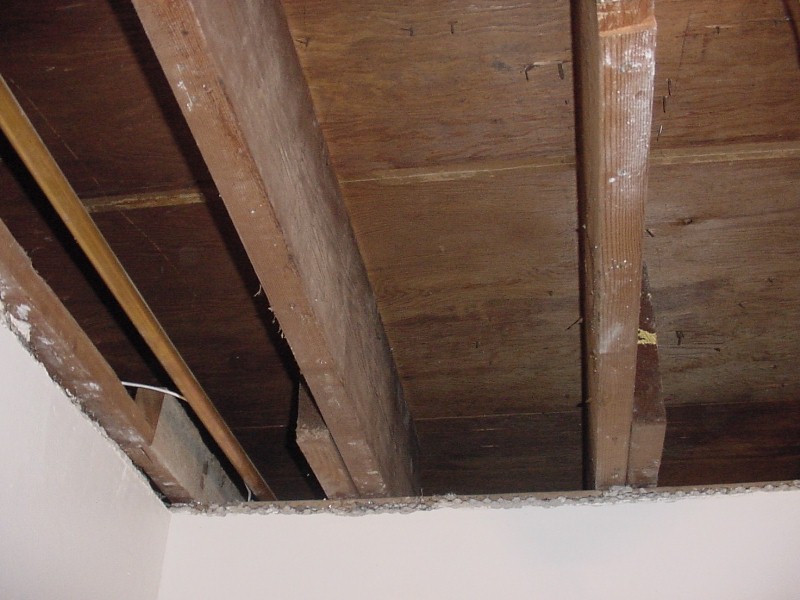
The ceiling is clear |
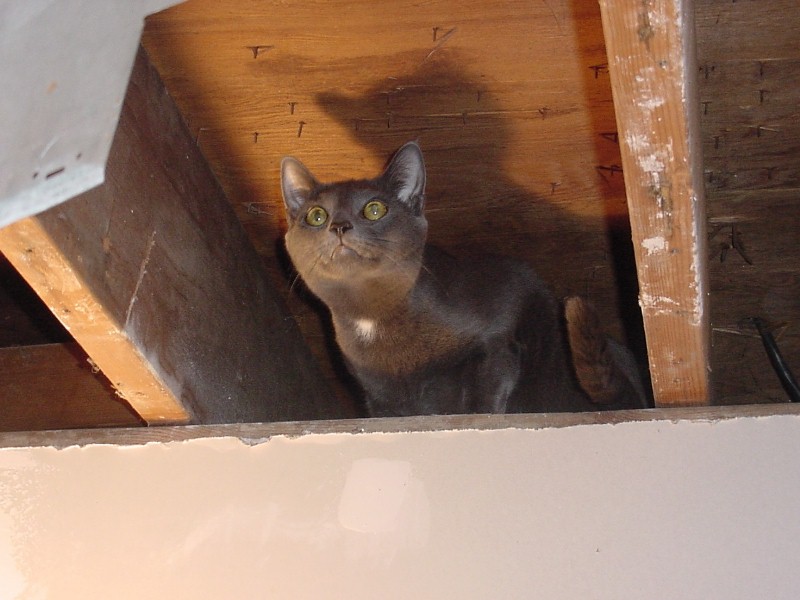
Smokey provides a safety inspection |
New light fixture/fan is installed |
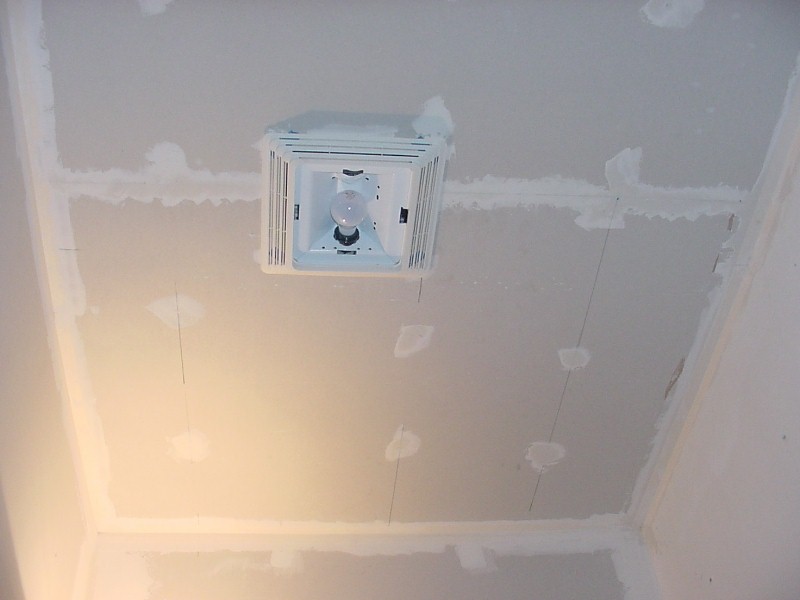
Ceiling in place and initial mudding |
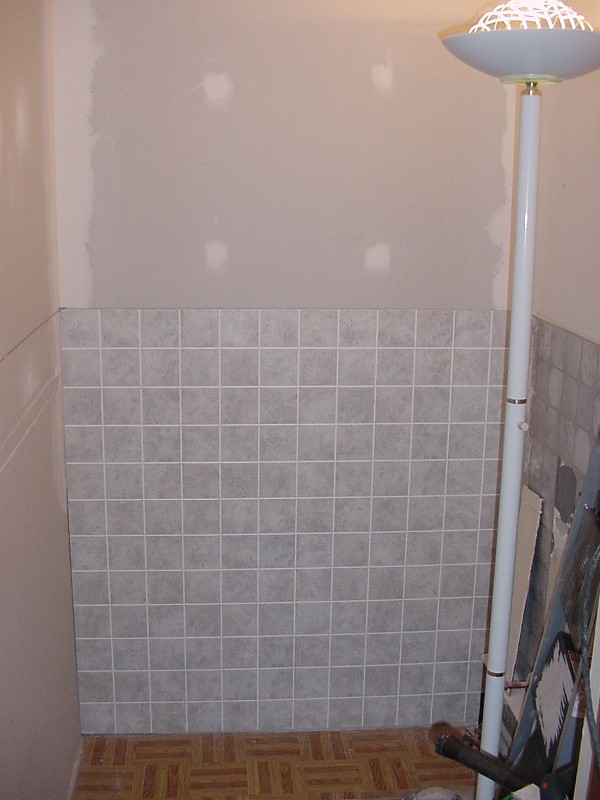
Bottom wall panels installed |
Walls painted and ready for trim |
Ready to install toilet and sink |
The new floor looks great |
|

- |

- |

- |

- |

- |
![]()
Use the BACK key to return to the PREVIOUS SCREEN